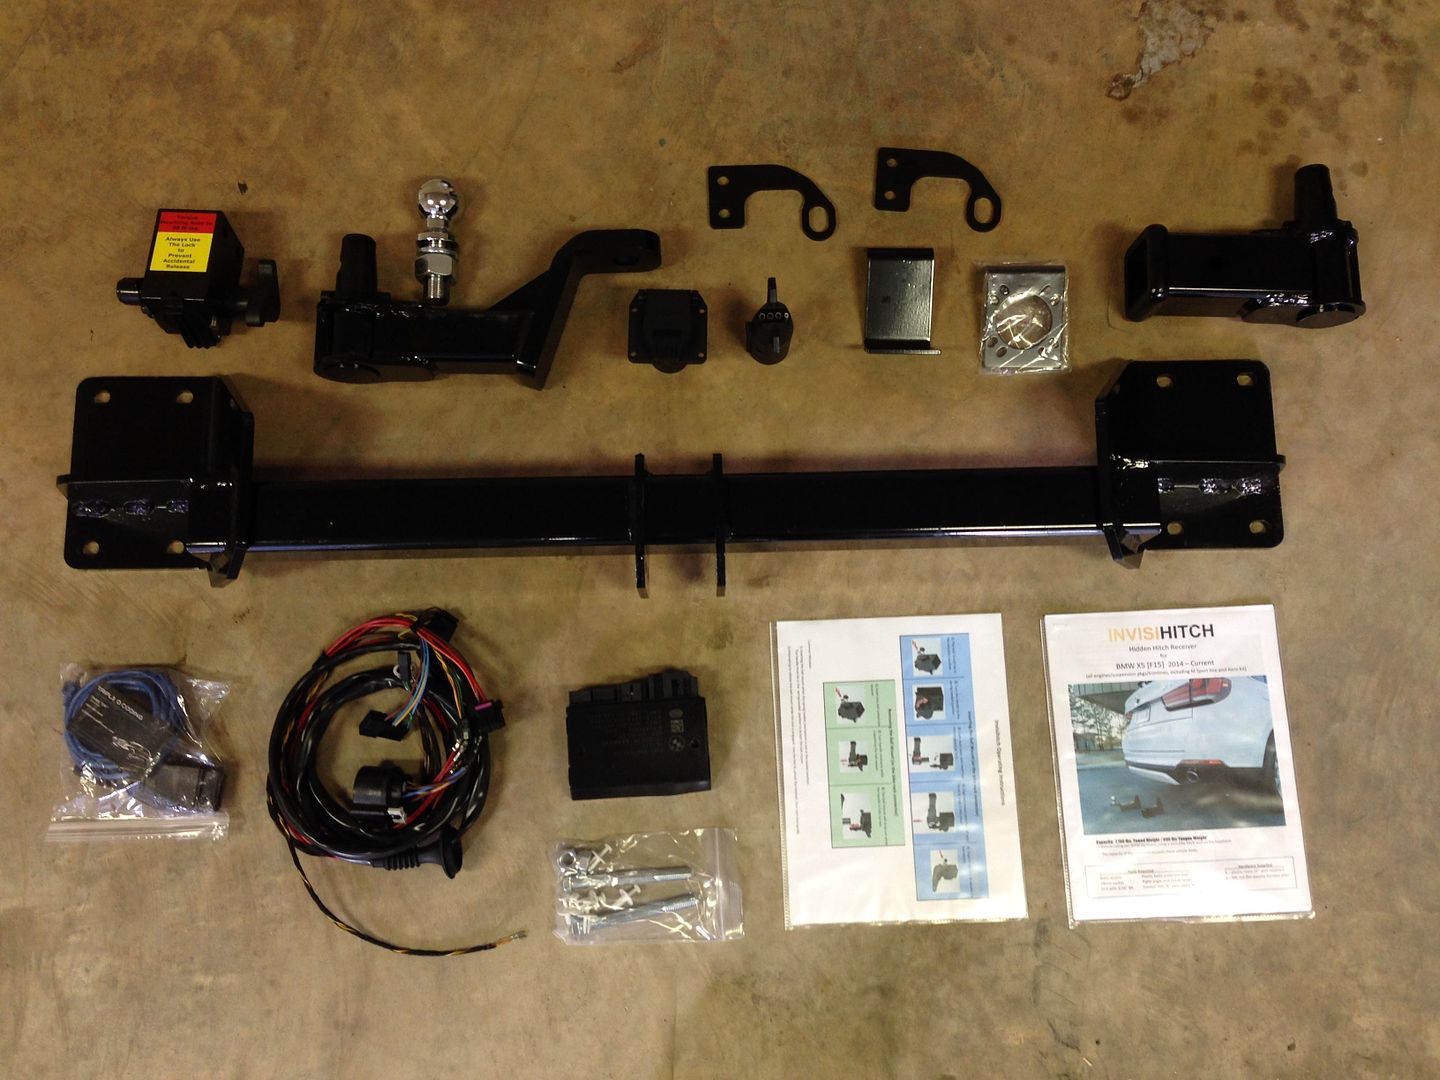
So I just took delivery on my 2015 X5D M Sport. With only 39 miles on her, I started with the hitch mod. I was deciding between the factory and the Invisihitch. For the M Sport the factory will not work. For the price and quality, no matter what X5 line you have, Invisihitch is the only way to go! This kit is top notch! I opted for the full kit with active harness. Everything was included, EVEN a coding cable! I already have the coding cable and software, but I was extremely pleased to know that they even threw in a nice long coding cable. I've never installed any of these hitches before. I'm fairly mechanically inclined and from start to finish it took me 3 hours and 35 min. That's including the time to make a few drinks and create a playlist on my ipod for some install music. The instructions are spot on and written word for word. So I'm not gonna write that, I'm just going to add to it and provide some pictures as to appearance and a couple tips I used that helped my install.
First off here's all that's included in the complete kit with active harness:
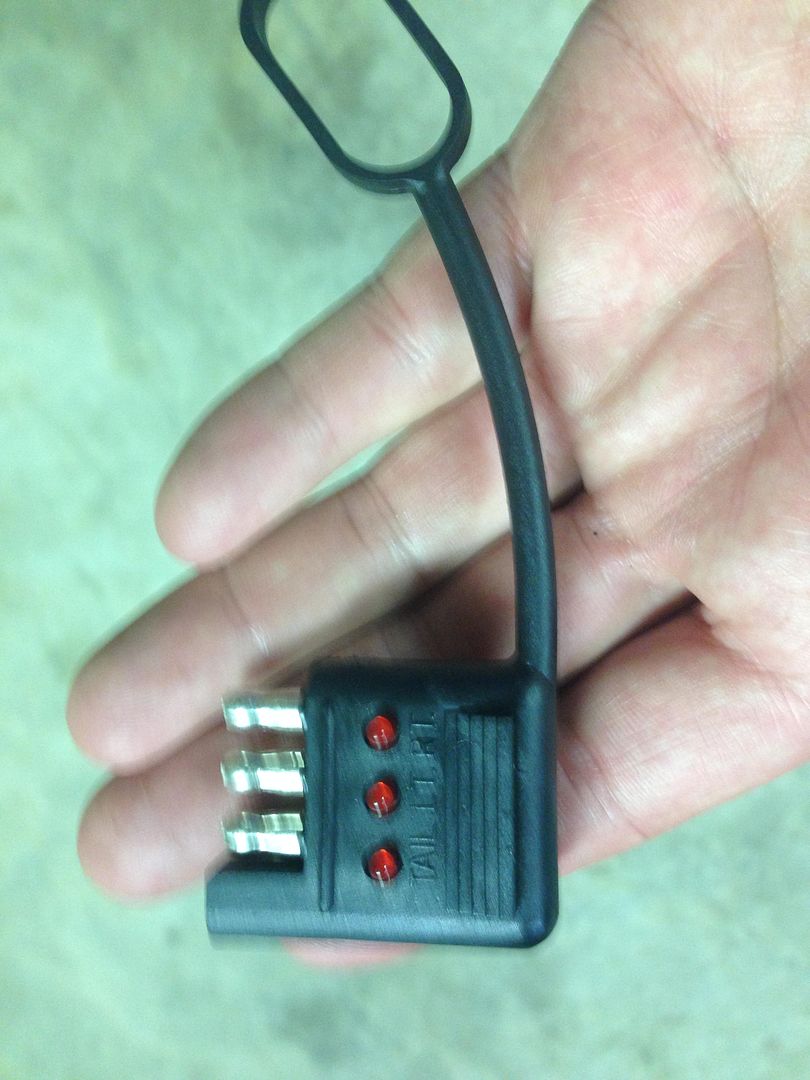
Next if you don't have a trailer you can go to Wal-Mart or any parts store and get a test plug, and then return it the next day....... like I did

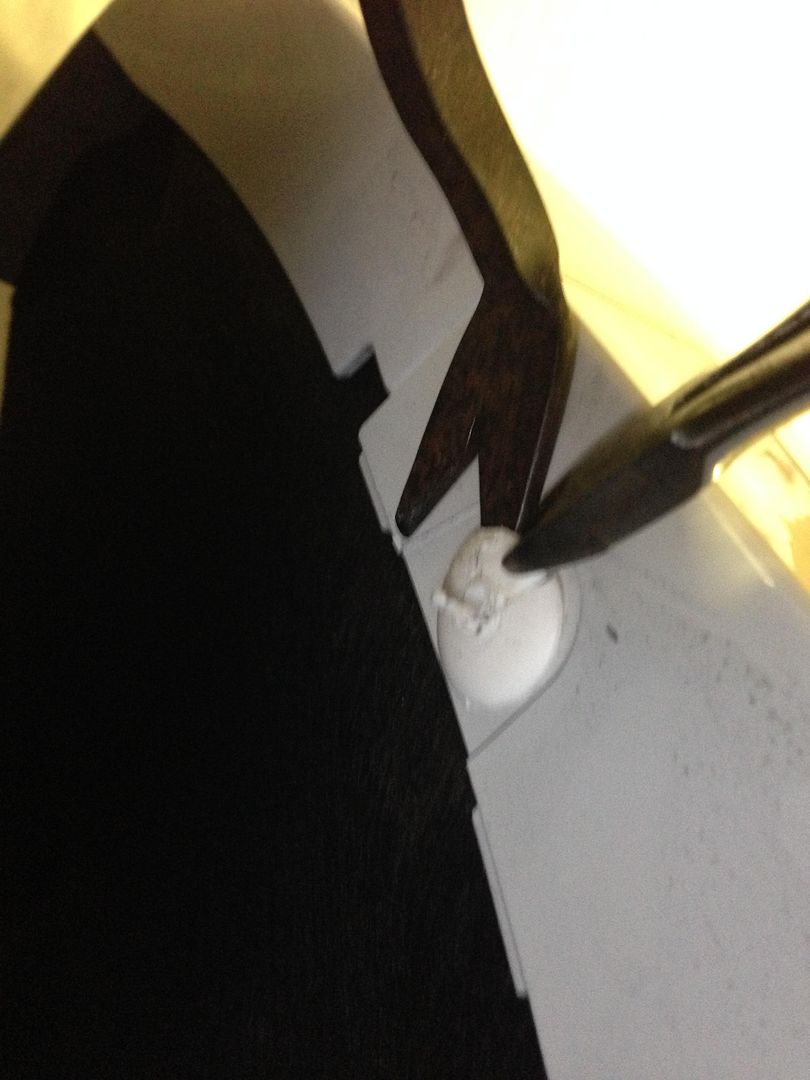
First, I didn't drill out the plastic rivets as my drill was too big and I didn't want to remove my rear wheels. So I used a trim panel tool and cut the tops of the rivet off and pushed the stem of the rivet out of the hole afterwards. The supplied replacement rivets are reusable, but a tad bigger in size.
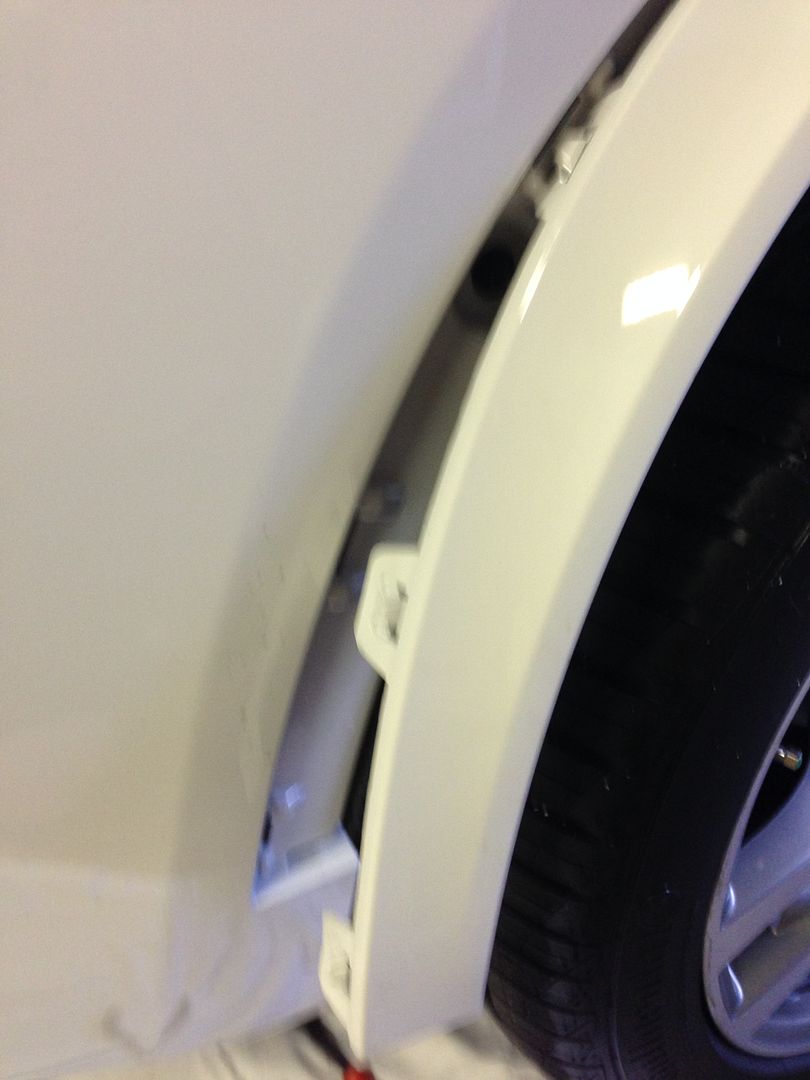
The fender flares use plastic clips and you have to pull pretty hard. I recommend you get your fingers as close to the clip as possible as this will make it easier to pop the clips loose. The clips are located along the back edge.
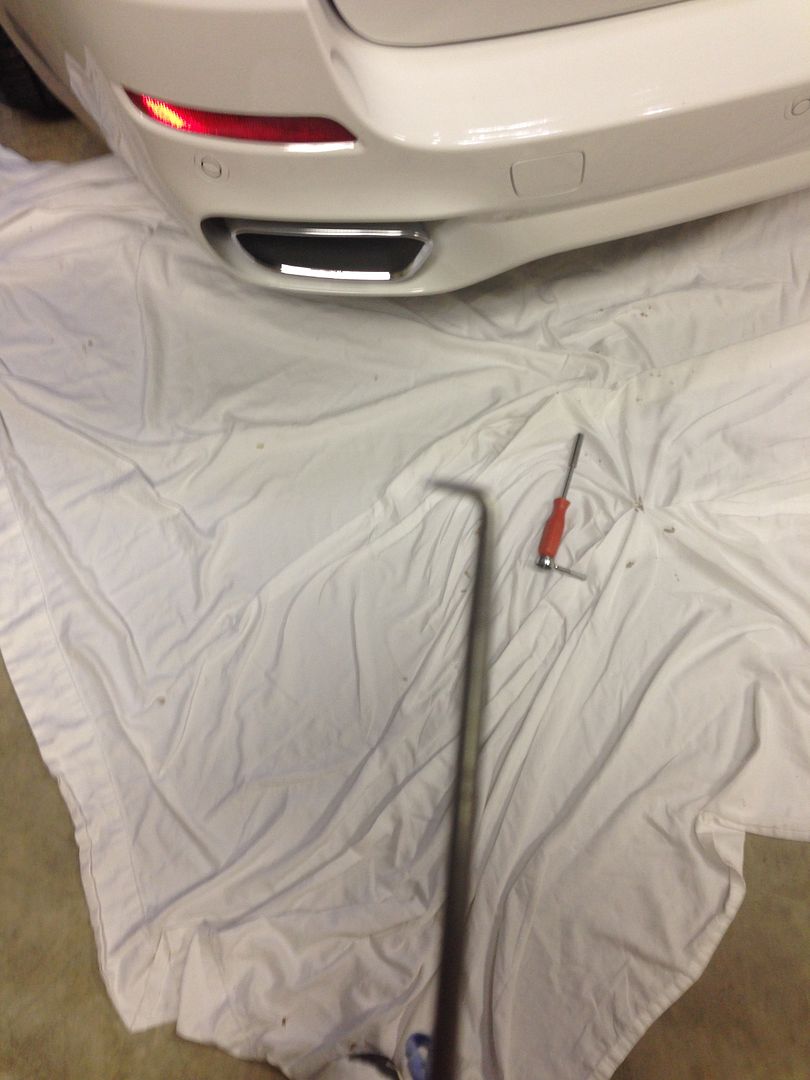
A little hook tool like this made my job a ton easier
On the M Sports you can't reach up behind the rear fascia and push the reflectors out, either that or I have fats hands? So I used my hook tool with a rag to protect the paint. Standing facing the rear of the vehicle, I slid the reflect to the left to create a small gap on the inner side of the reflector and pulled that end out first with the hook toll. Once the reflector started to come out after releasing the first clip. I held that edge up with my finger and with the rag protecting the paint, I slid my hook tool to the left while pulling out to release the 2nd clip in the middle. That's just a plastic clip in the middle where the first clip you release is metal.

I highly recommend placing a sheet or blanket under the rear of your car. When you release the PDC plug the fascia is going to drop, unless you have someone helping you. The sheet or blanket will protect your fascia and then you can just slide it out of the way to begin working on your hitch.
Next I routed the active harness cable according to the instructions. There is a set of wires that clipped to the factory bumper so I zip tied it to the new harness and popped out the plastic plug and installed the new rubber grommet. It's the hole on the right
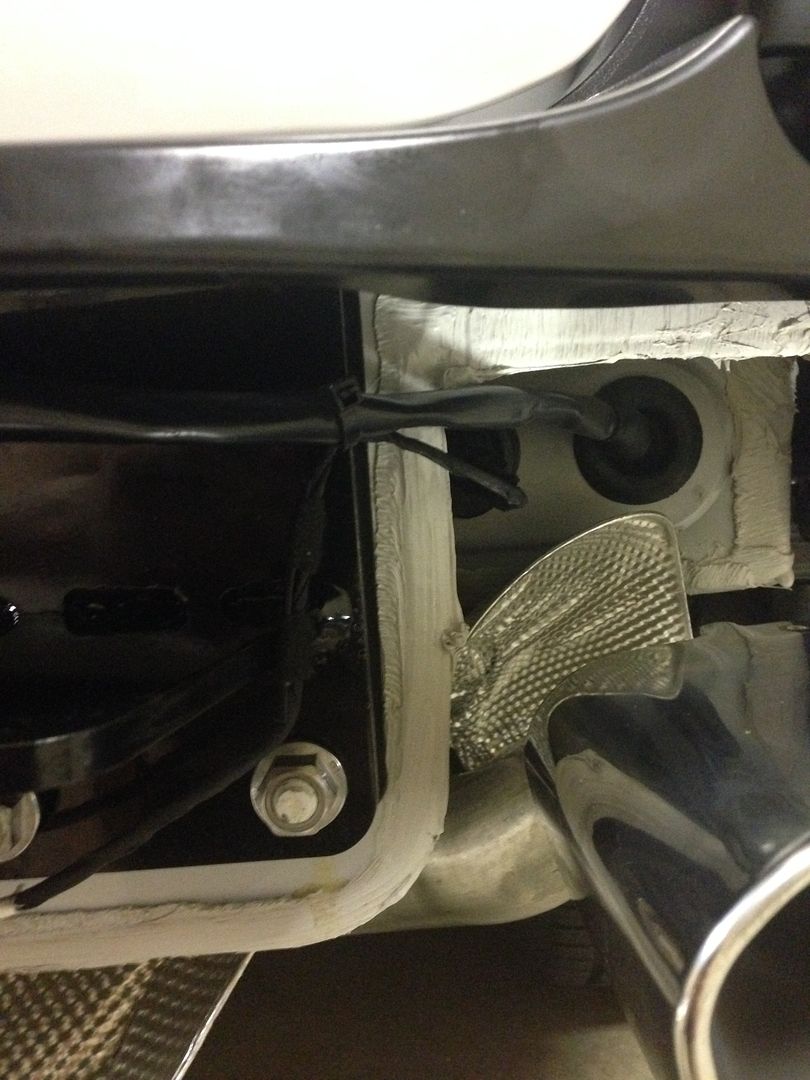
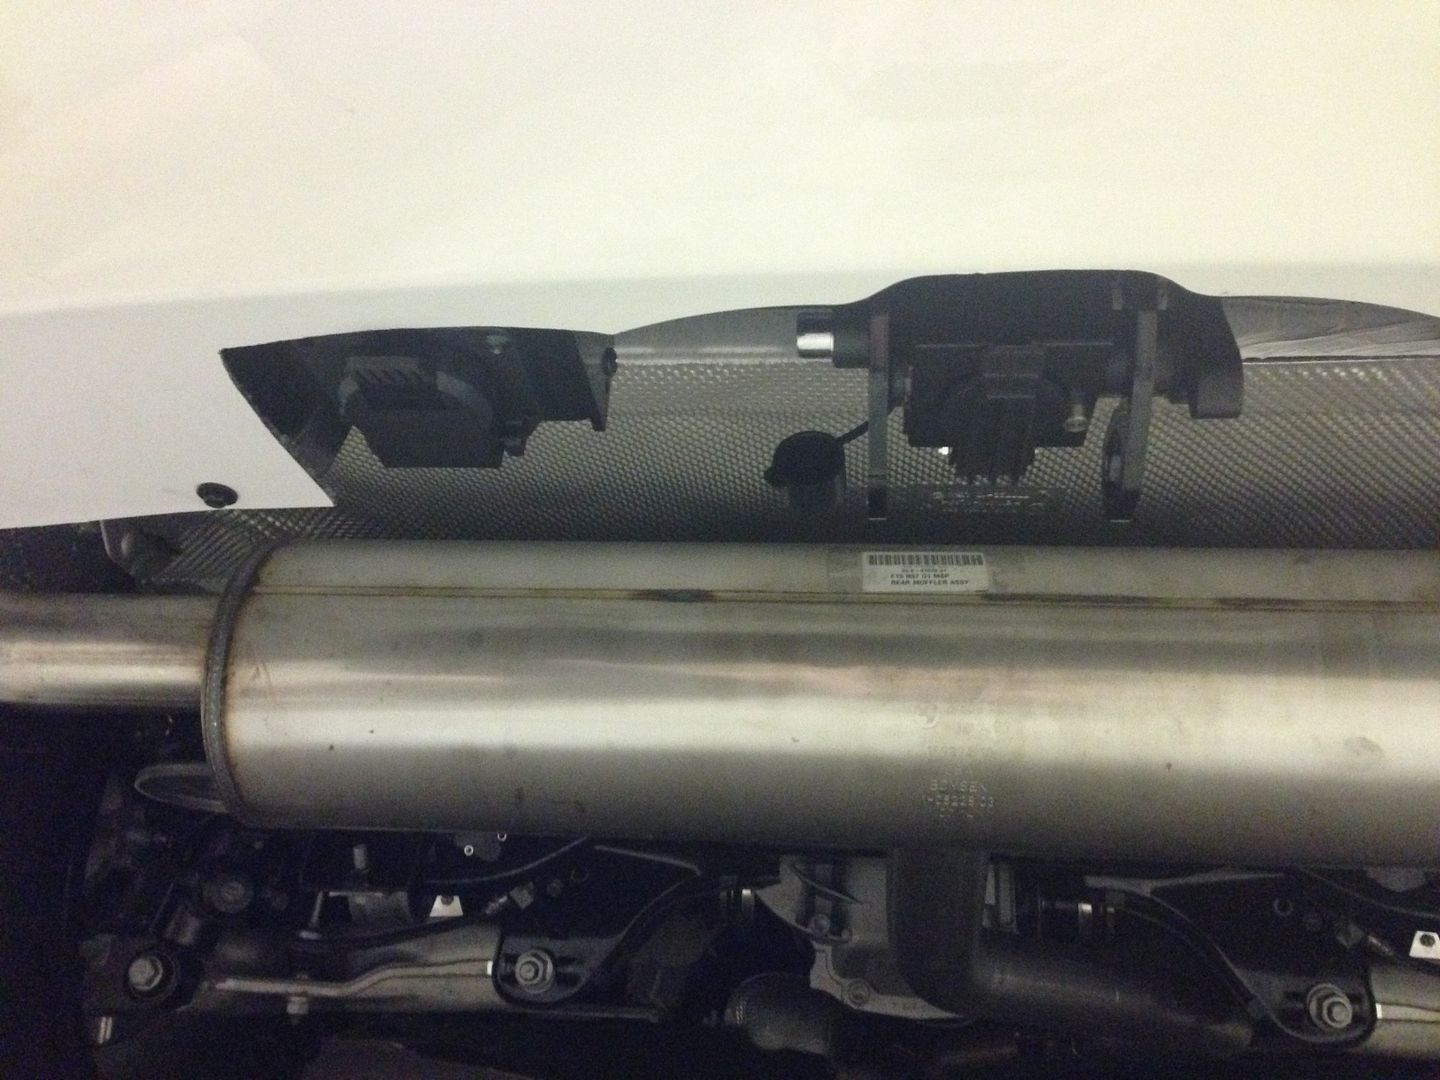
You'll have a good bit of slack in the active harness. Make sure you leave enough slack to reach the trailer light plug once its mounted . You can zip tie the slack to the under side of a plastic piece that sits on top of the new hitch. I placed it here so it wouldn't hinder the re installation of the rear fascia.
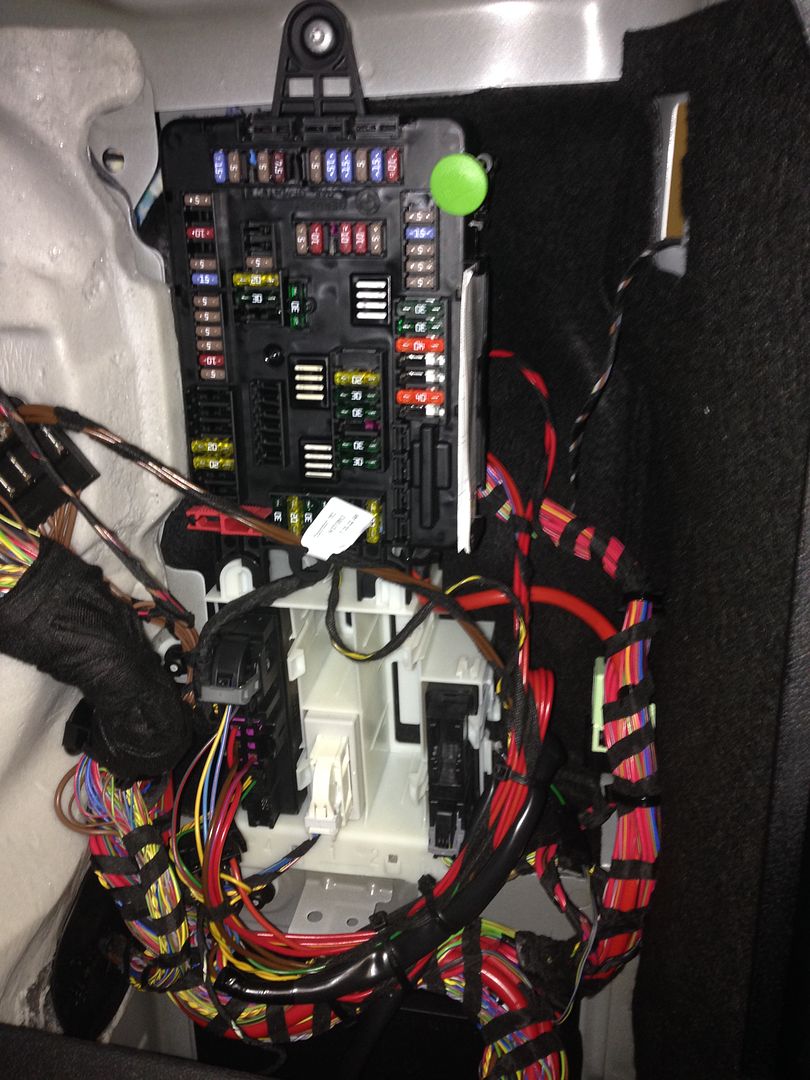
Follow the wiring diagram for the inside power connections. The CAN cable is small, really small. Only two wires in it and well hidden in the black tape. Also the PIN locations on the plugs were very hard for me to see as they were just about microscopic. Either that or I need new contacts? On the left and right side of the plugs are numbers. So on the left side of the plug theres #1, so you start with that PIN and count left to right to find your slot. Keep in mind it may start with the #14 so if you're looking for PIN #8 you need to flip the plug over to the other side. I slid the module into the white holder on the far left side, because that was the only one big for the module to lock into. Zip tie everything and keep it looking factory.
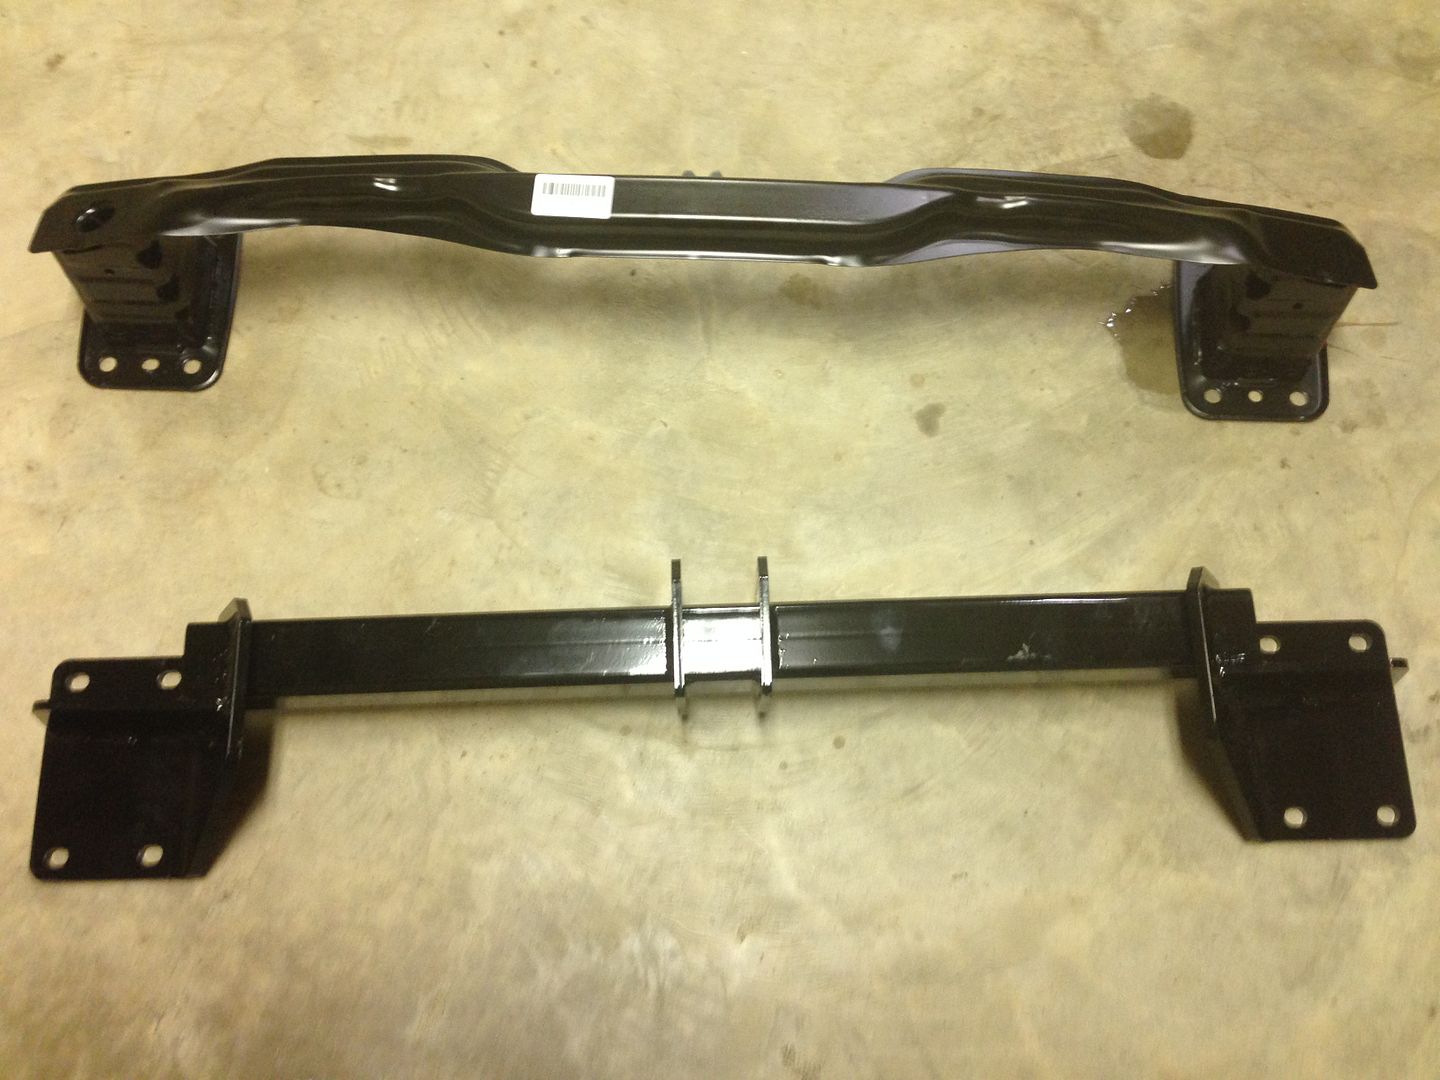
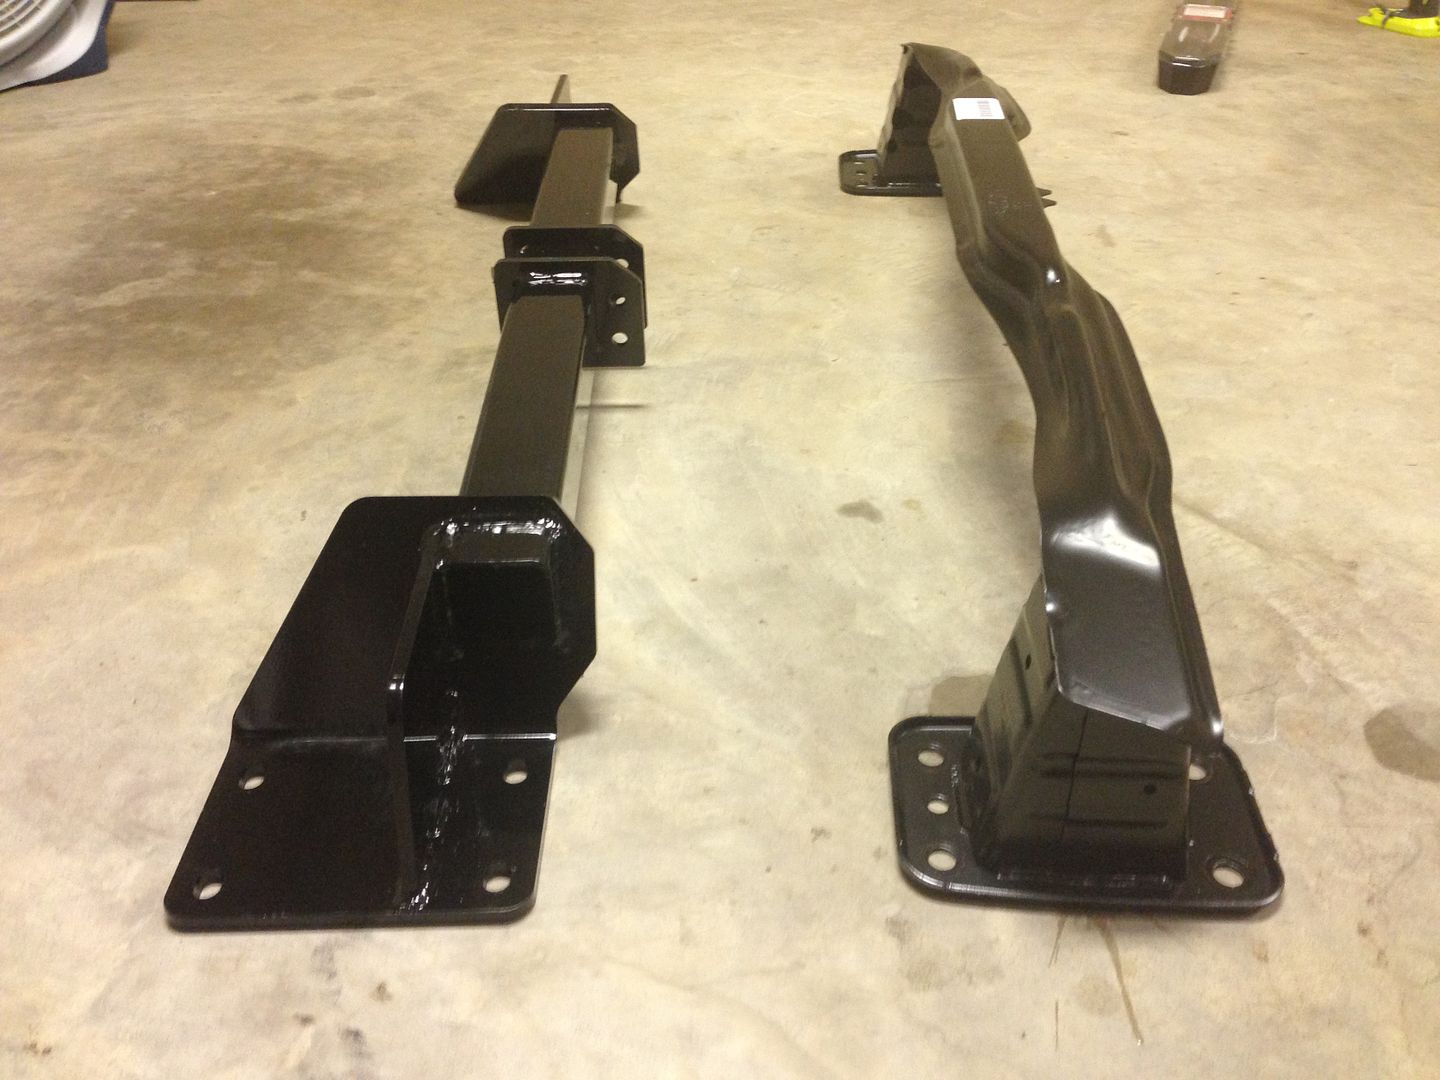
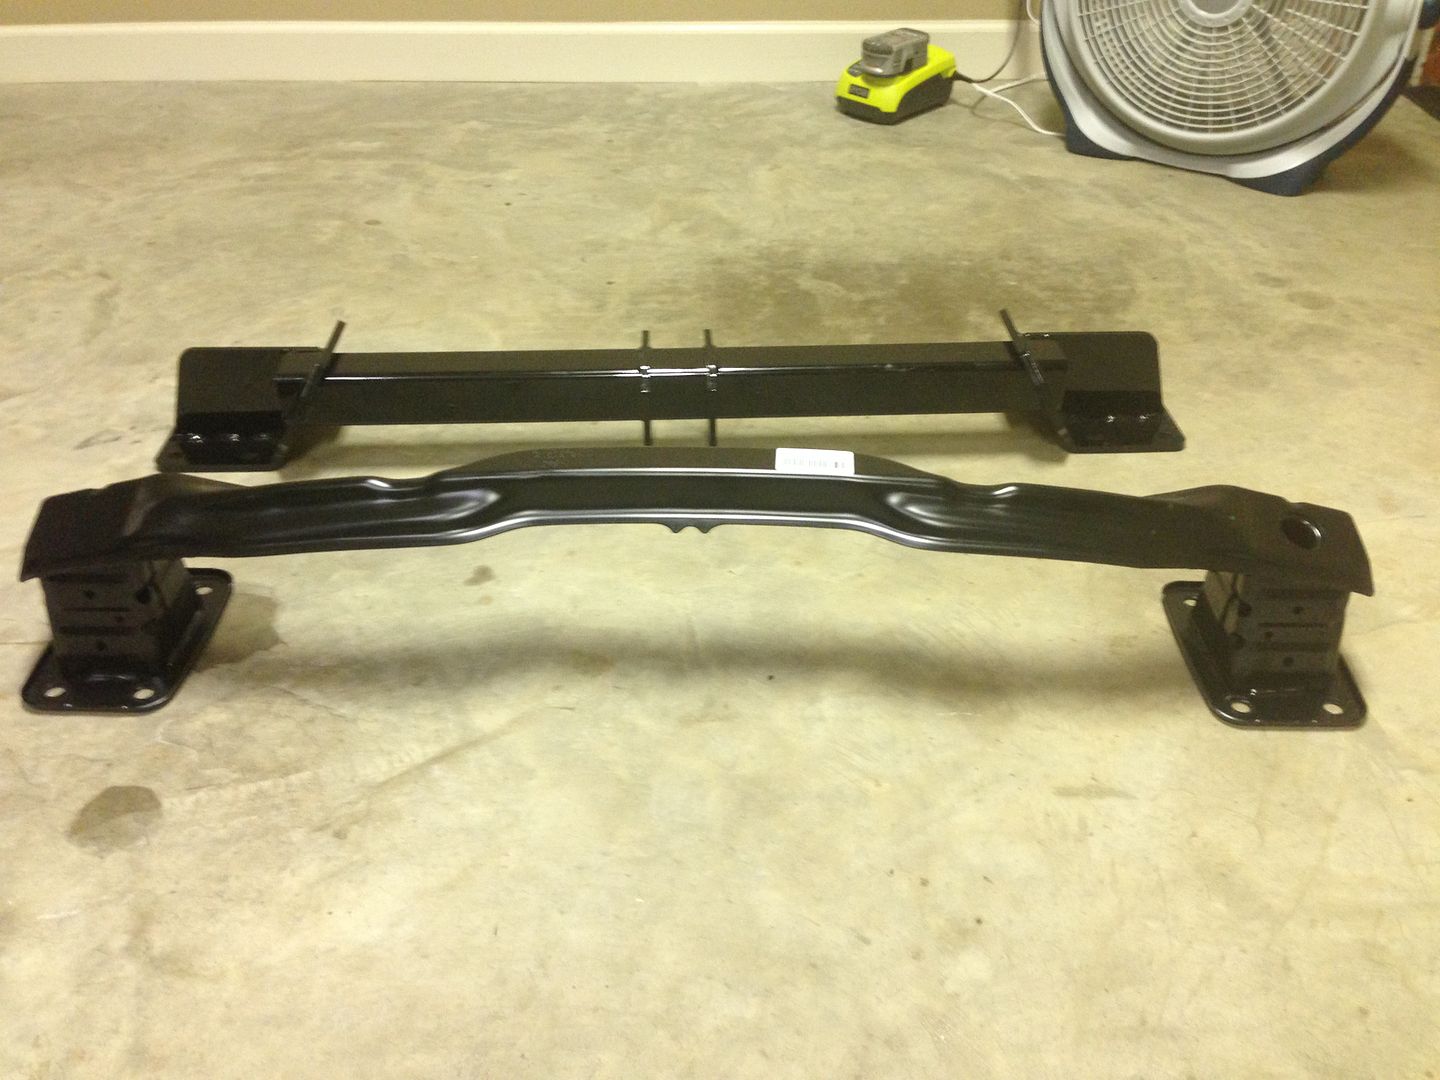
Here's some side by side comparisons of the new hitch VS the old bumper. This is a very well made hitch. Kinda over kill, but hey we drive BMW's so we're not into mediocrity.
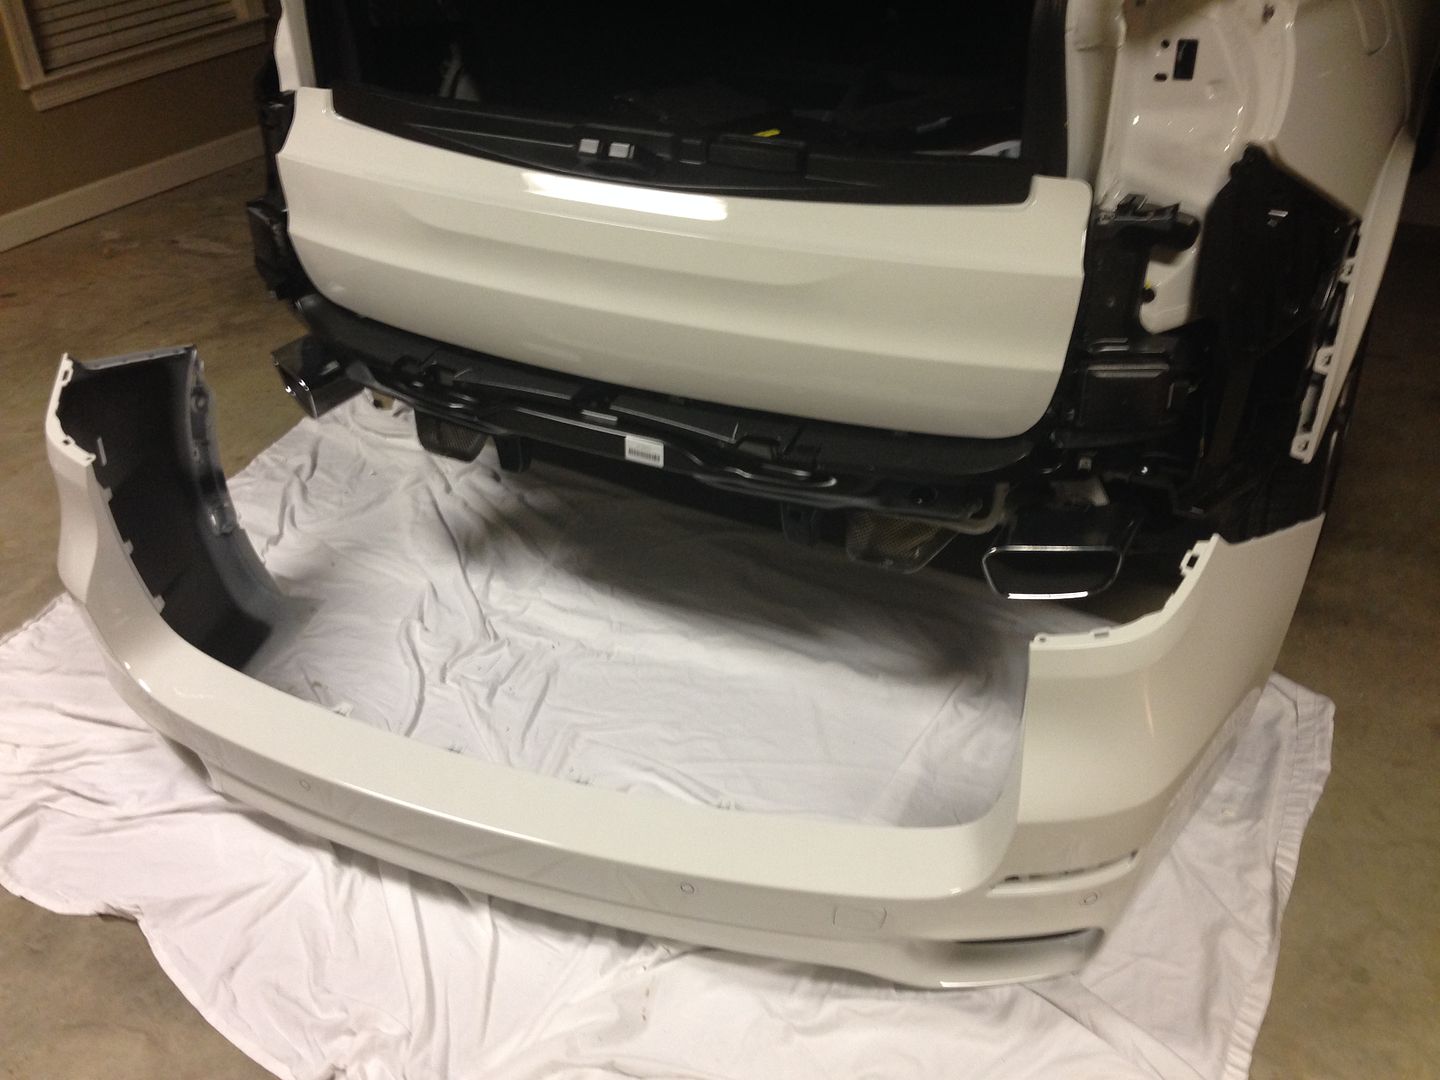
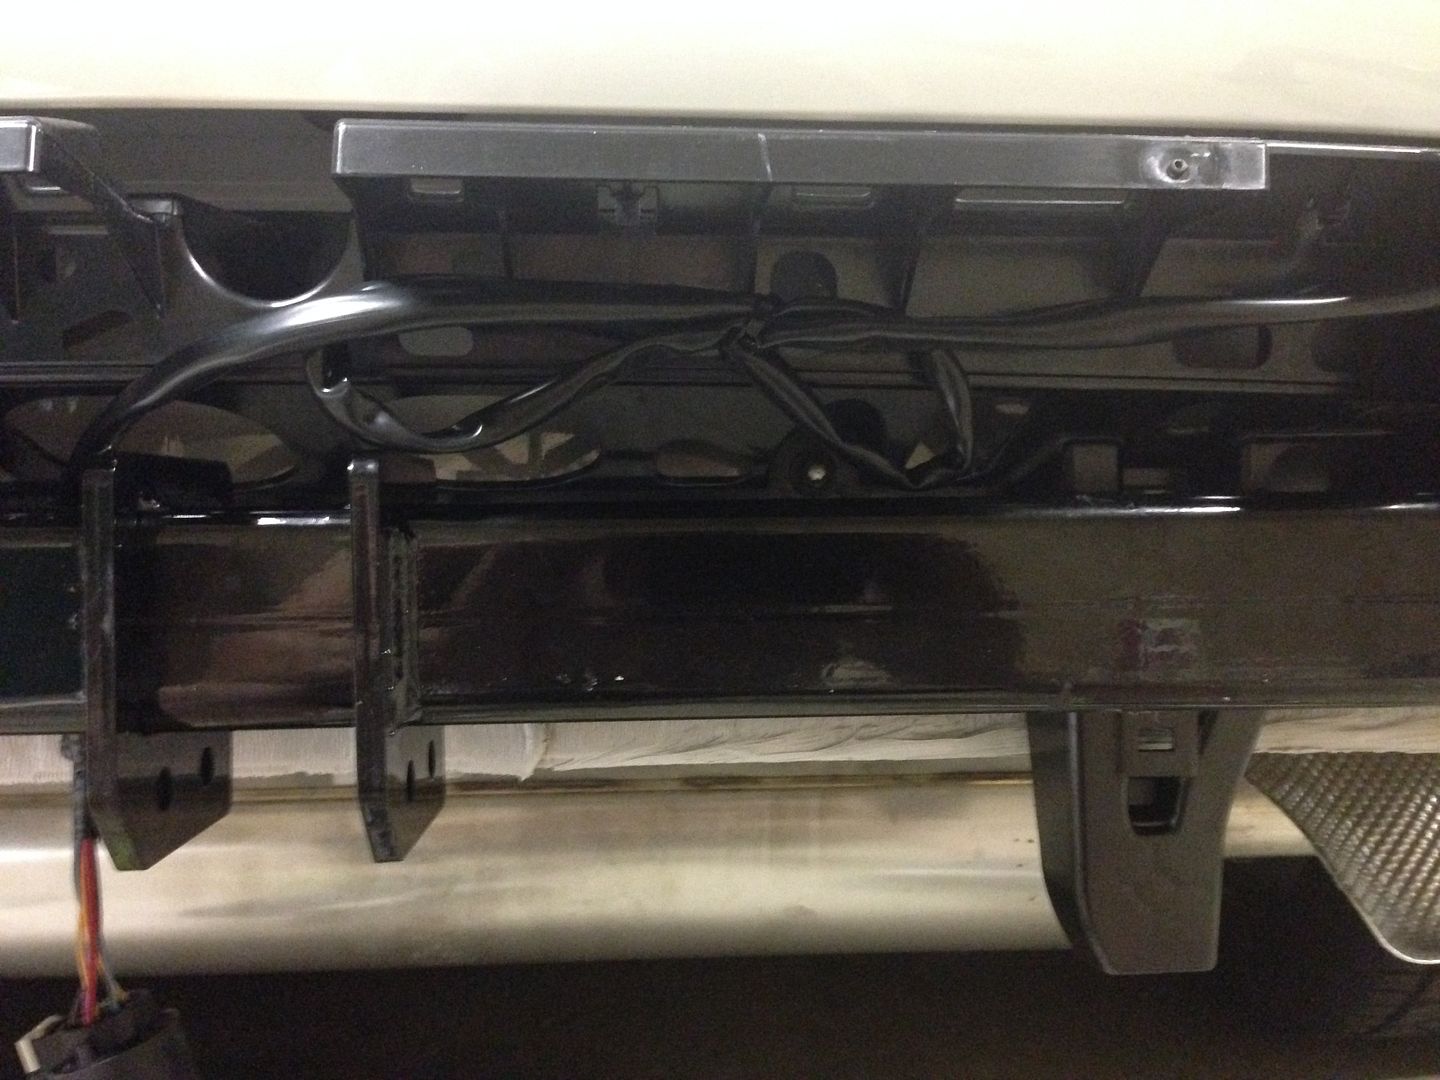
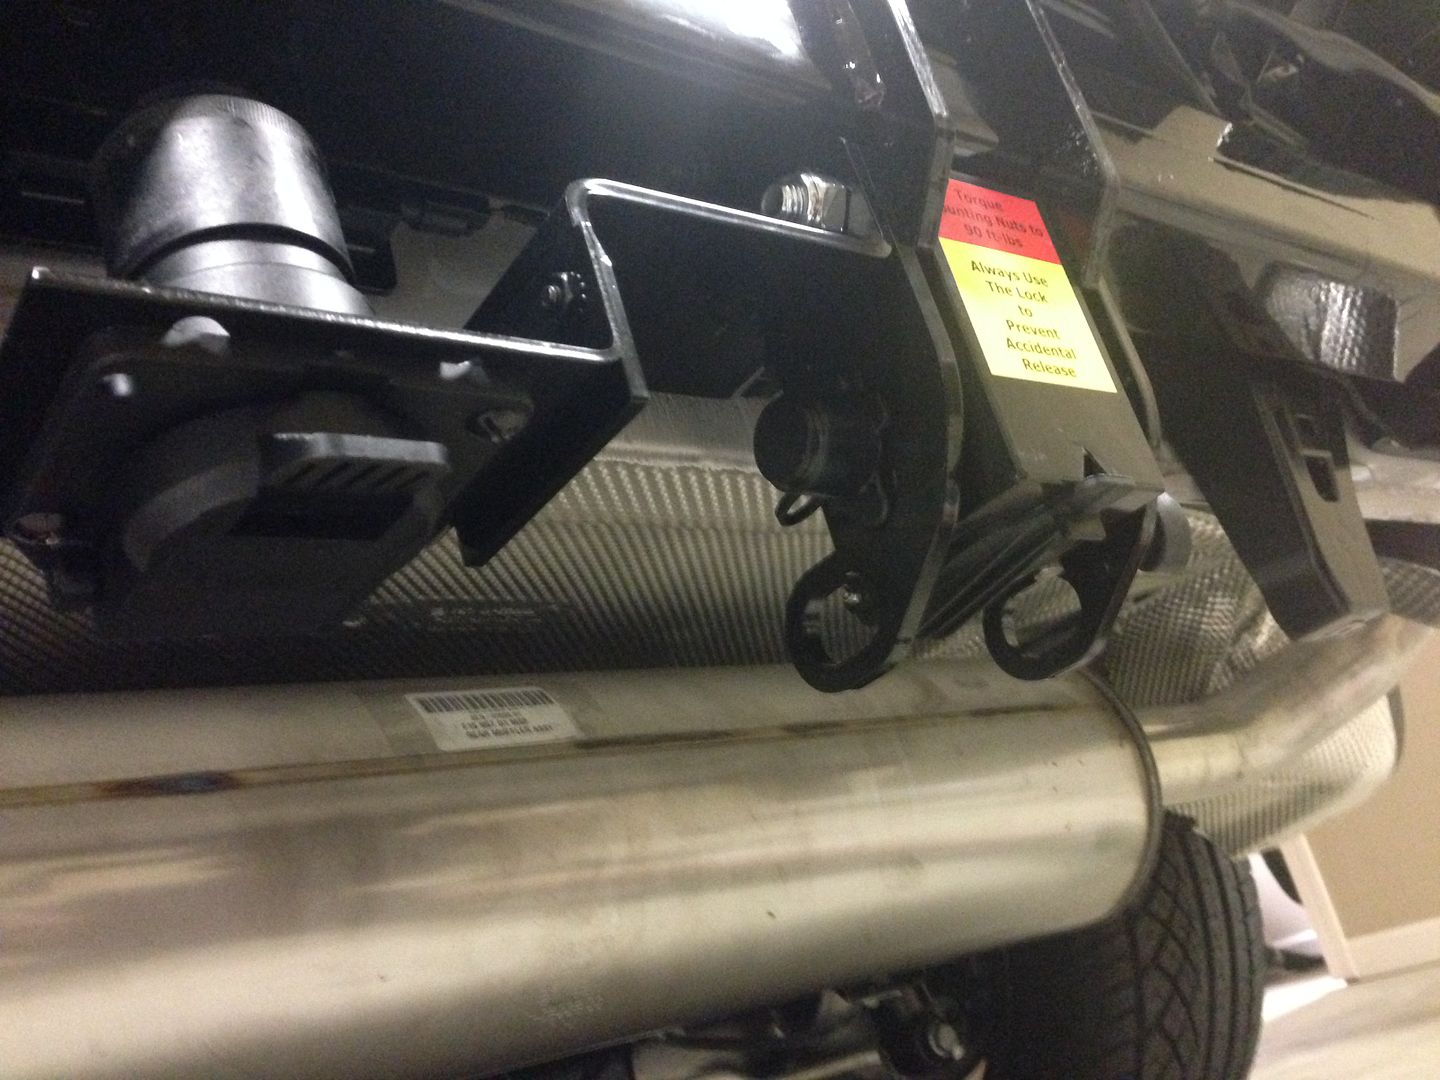
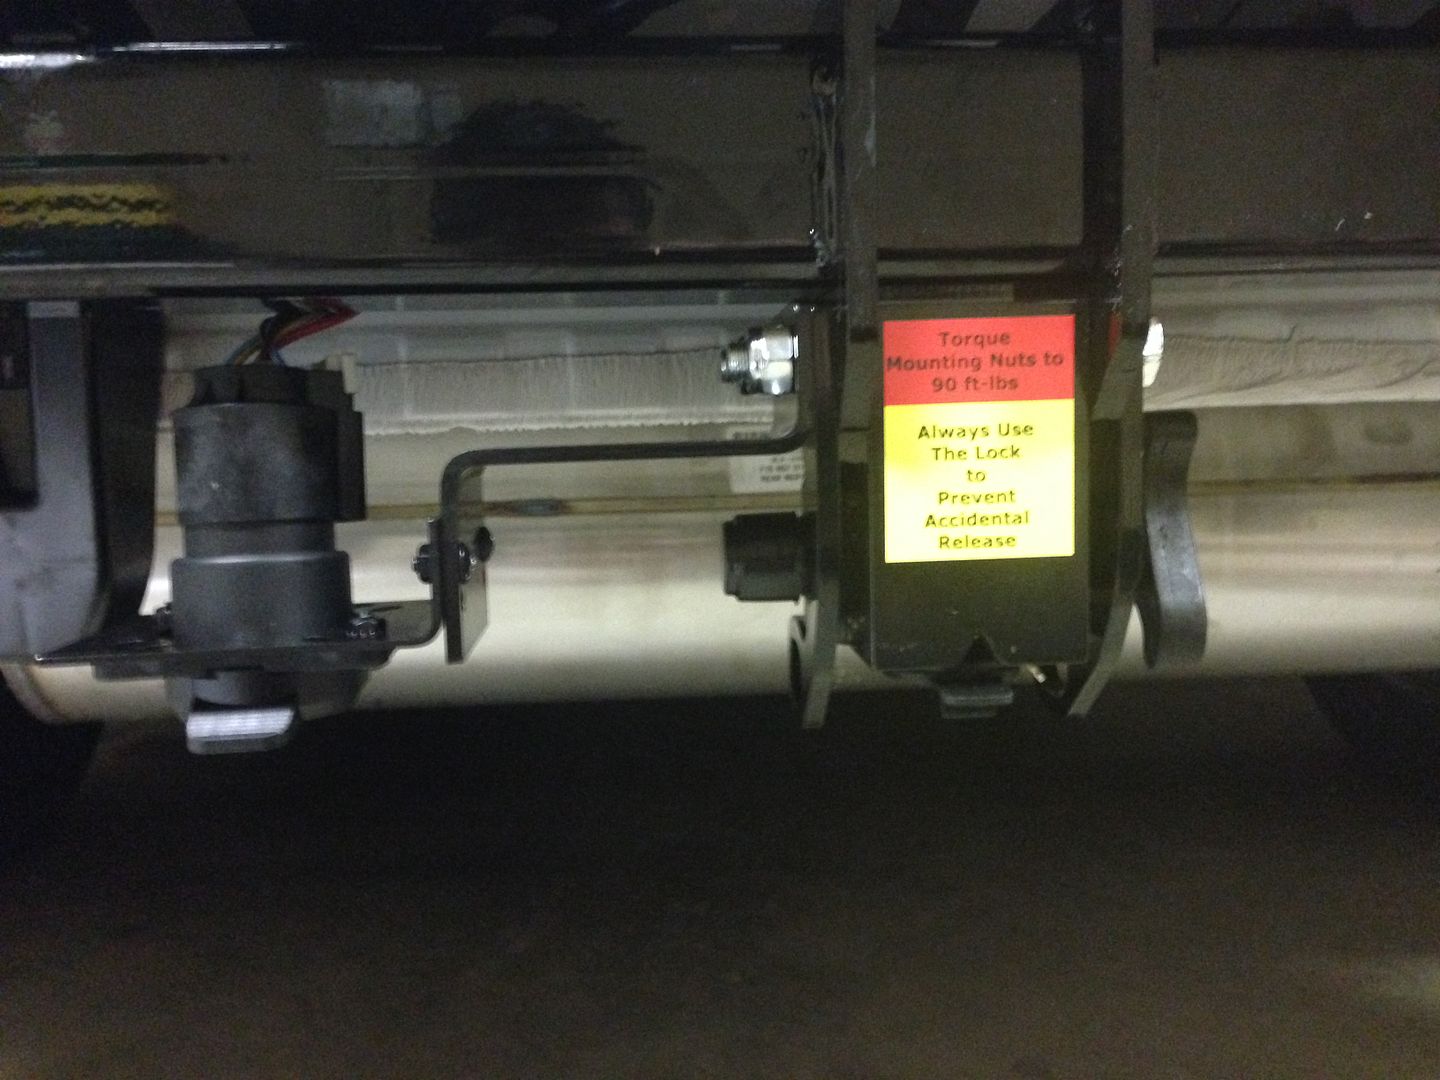
So here's what it looks like without the fascia once installed.
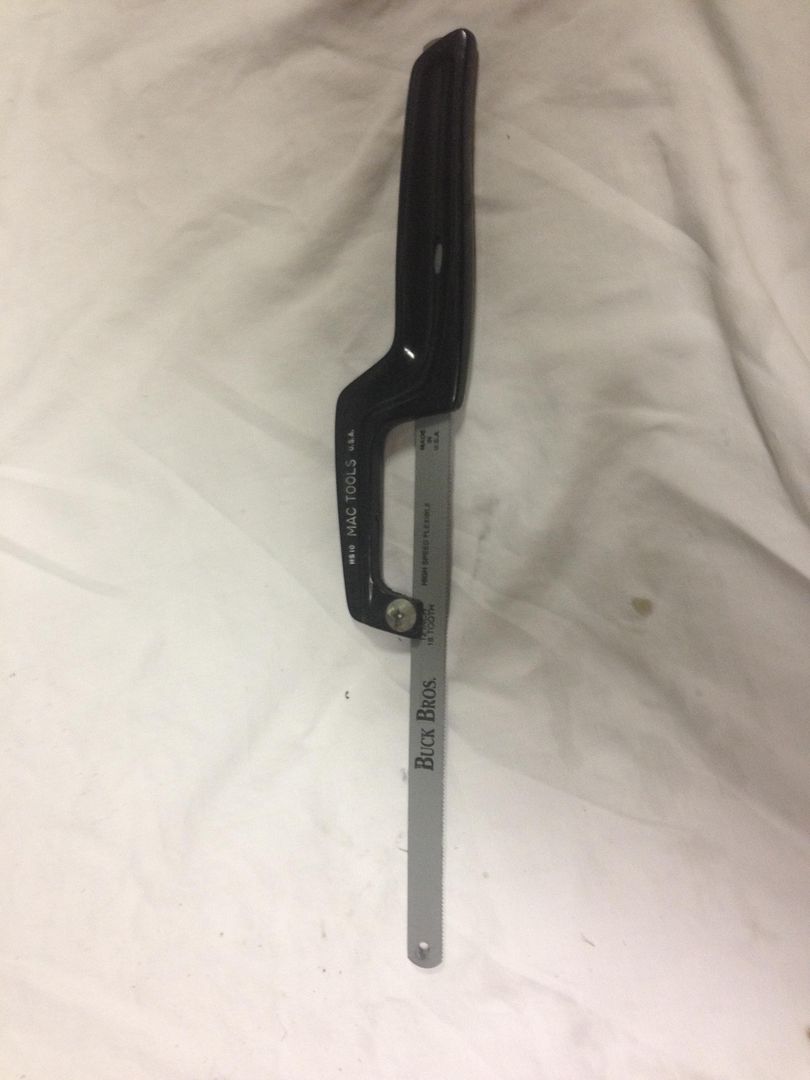
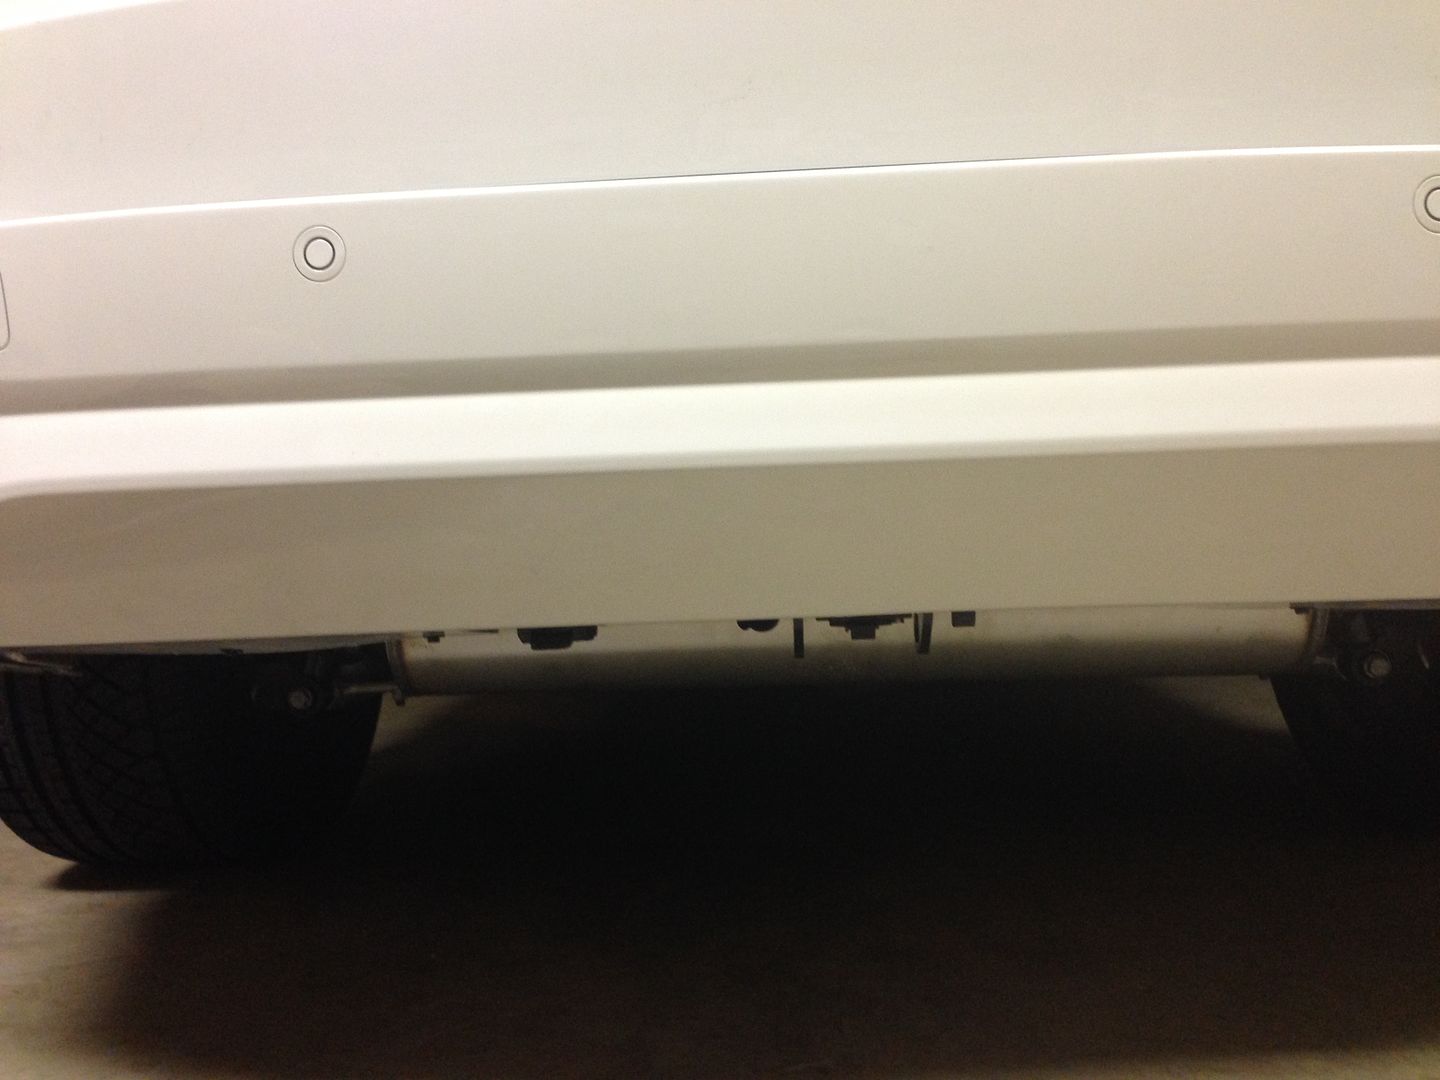
You'll have to cut the fascia to make room to go around the trailer light plug. I didn't have a dremel, but I had a handy hack saw that I used to cut around and then just filed the edges to smooth out.
The finished results.
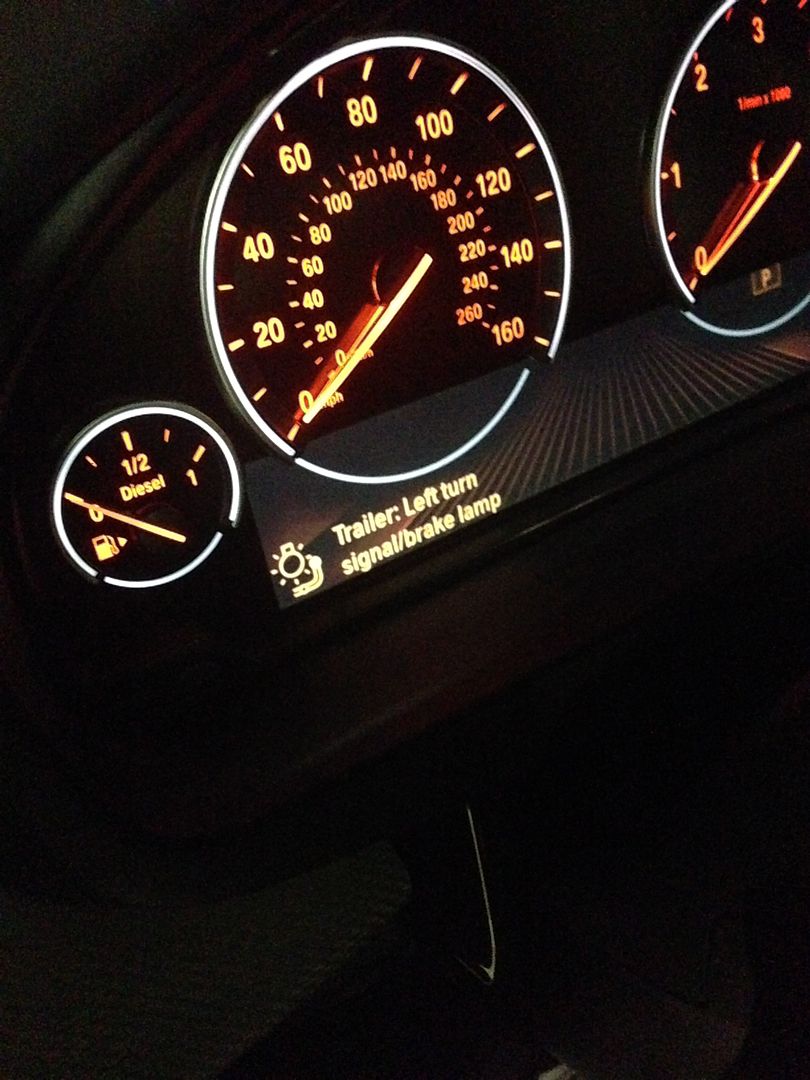
The trailer test plug wasn't plugged in all the way so it shows that I had a light out. The only thing I had to code was the Macro zoom feature. Other than that it recognized the new harness and programmed everything itself.