I installed both the front spoiler and the rear diffuser myself without using any betalink.
This guide is meant to be used in conjunction with the factory installation instructions so you will notice I am going to skim through certain procedures while concentrating on the details where the manual is lacking
Refer to this post here for the factory installation manual. Thanks Cenix http://f15.bimmerpost.com/forums/sho...60&postcount=1
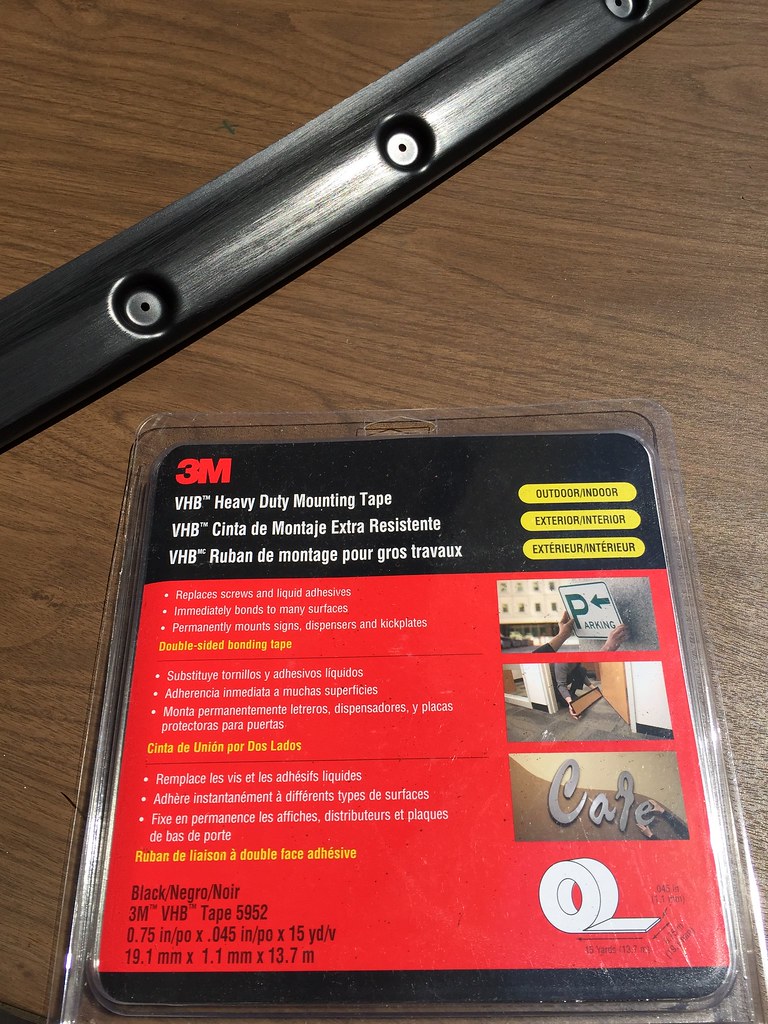
My reason for using 3M VHB tape instead is simply because I want to be able to remove the CF pieces if I need to. Granted I will still have holes in my bumper and these modifications are 'permanent' I still want to factor in the chance of some of the pieces getting damaged and will need to be replaced. Betalink is permanent. There are tons of stories about how much of a nightmare it is to remove this stuff. Bonds great but don't expect to be able to get it off your car without damaging your paint. 3M VHB is also very strong but it is possible to remove it with some heat and elbow grease which is why i went it instead. I've installed countless spoilers with this stuff and it has never failed me yet.
First thing you need to do is order some 3M VHB if you want to use my method without using betalink. I purchased it on Amazon and just be sure its VHB (stands for Very High Bond) version.
 Rear Carbon Diffuser/Side Wing Installation
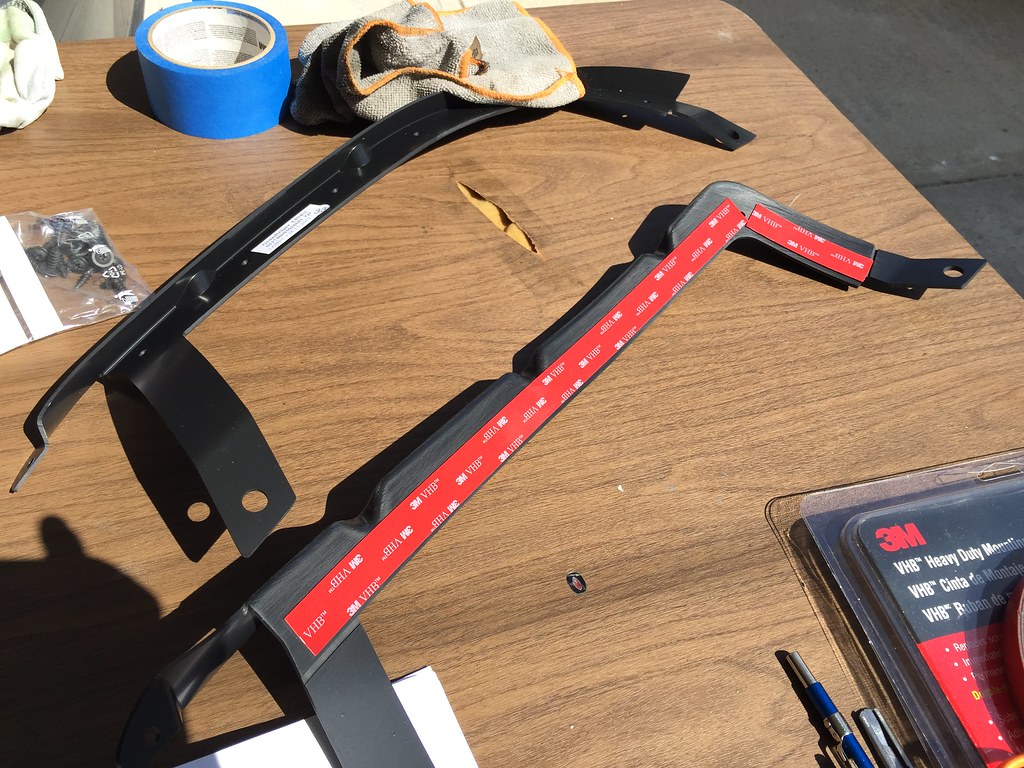
Now lets start with the rear diffuser first. Following the factor instructions it tells you to use sandpaper and scuff up the bracket so that the glue/tape will have more bite against it. This is what it looks like sanded down.
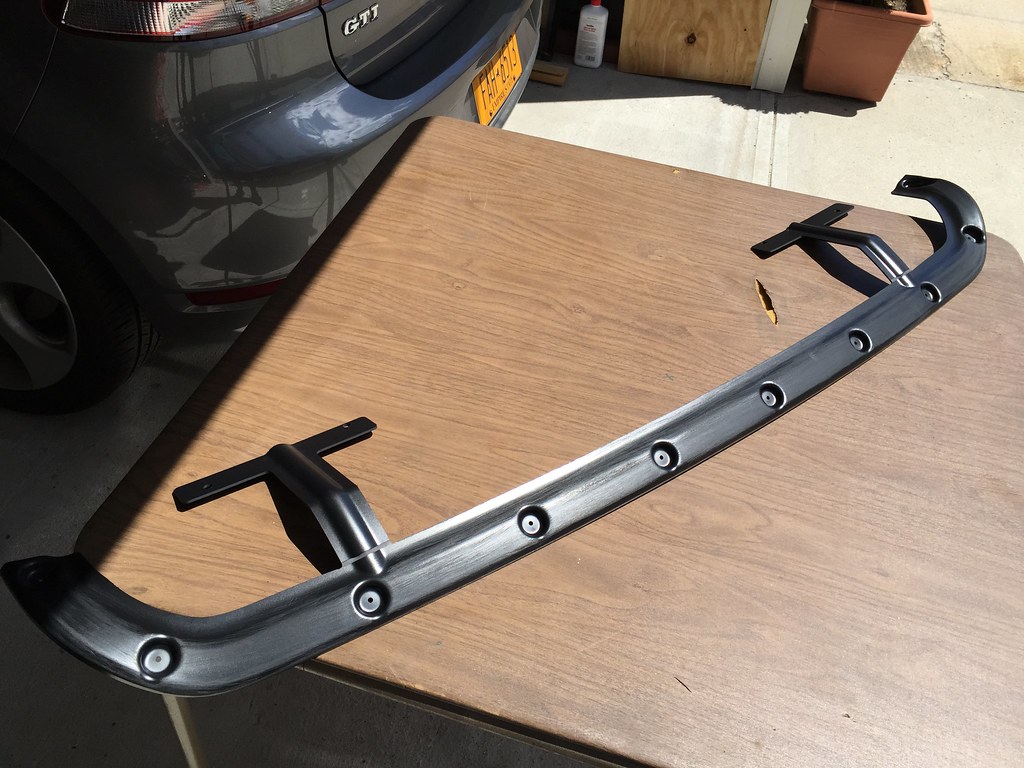
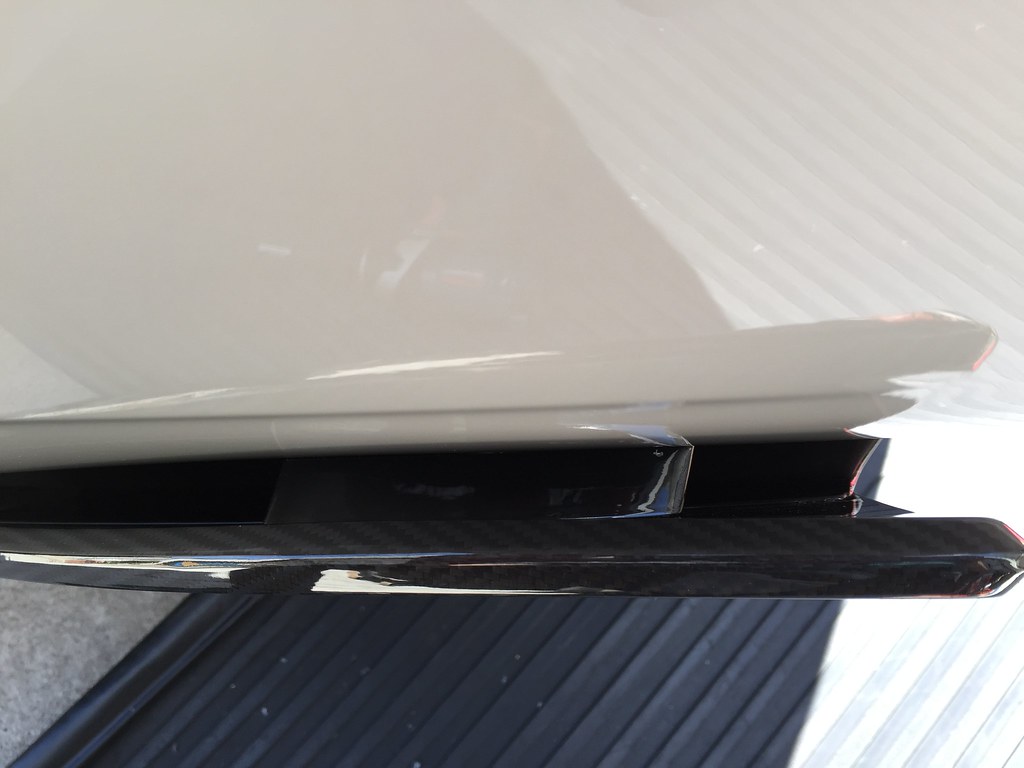
Now after the sanding is done, proceed to add some 3M VHB tape to the side where it will be against the rear bumper. Add only one layer of tape. If you double up on the tape it will raise it off the bumper and it will create a gap in between your CF diffuser and bumper.

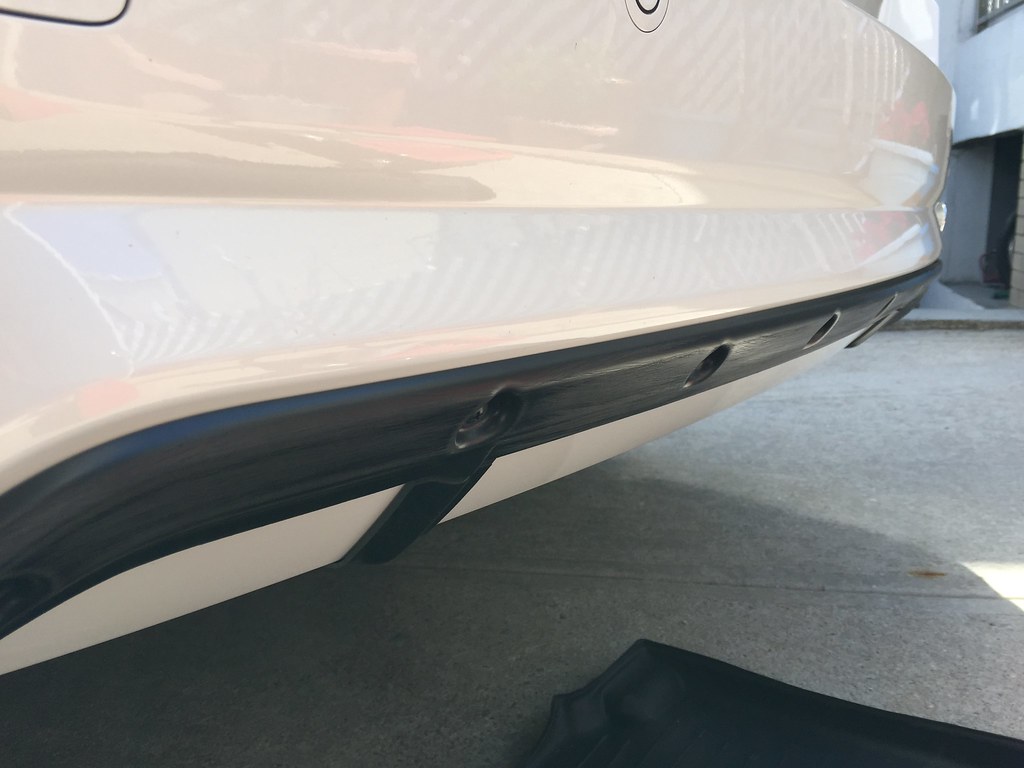
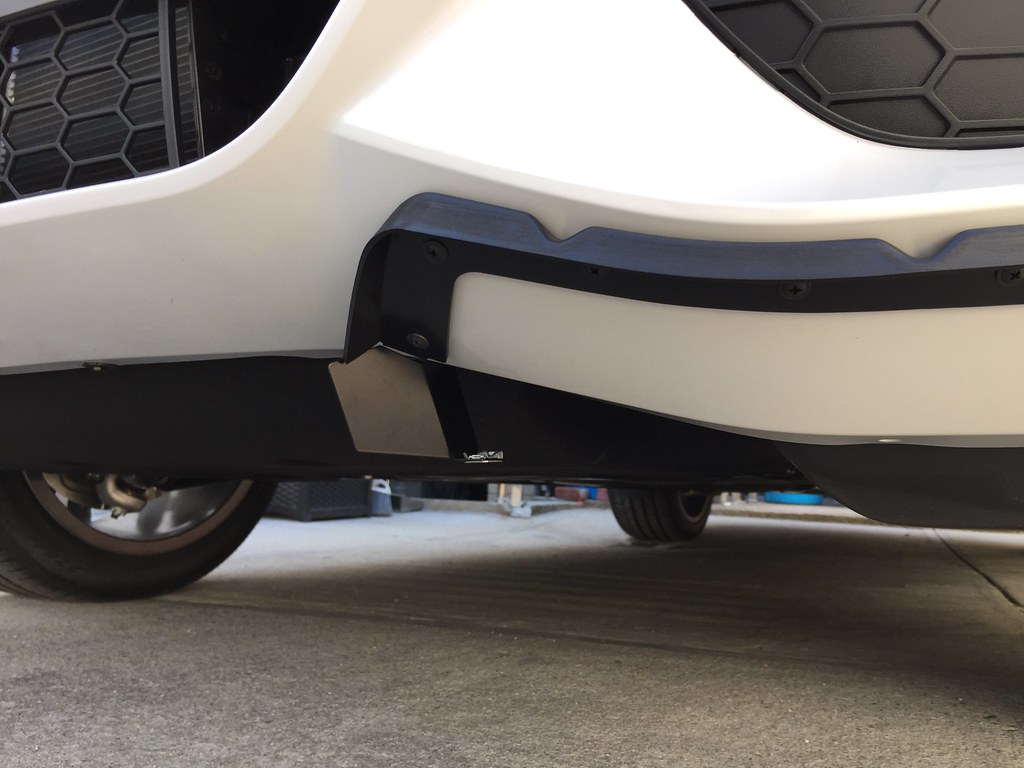
Now follow the instructions on how to mount the bracket. The two T brackets is basically just a mounting guide so its pretty dummy proof. They screw into existing holes under the bumper so there is no way to get the position wrong. Keep in mind that you need to wipe down the area with some alcohol or degreaser so the tape has a good surface bond. You will also need to drill about a dozen self tapping screws into the bumper to hold the bracket. I did the VHB tape and drilled so its extra support. This is how it looks mounted to the bumper..
At this point the manual tells you to remove the screws on those two "T" shaped mounting guides and you can break them off. There is no more need for them and they were designed to be broken off easily by just bending them. There is a pre-cut line on the bracket where they would snap off.
Now its time to work with the gorgeous BMW Carbon Fiber pieces...
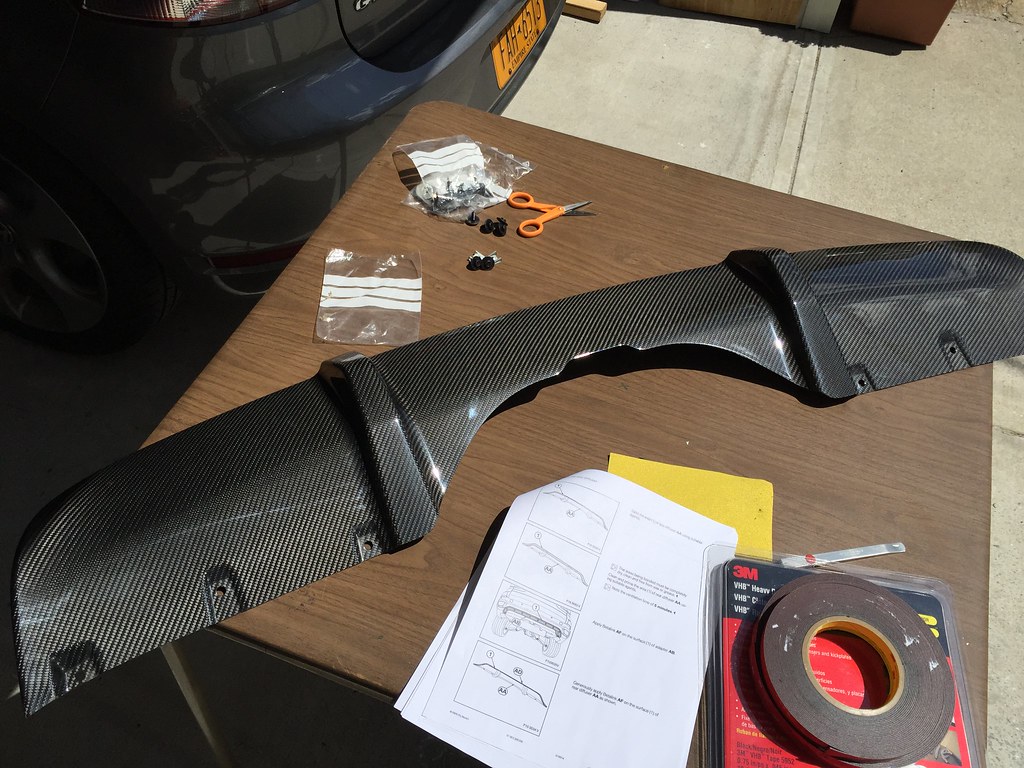
You need to also sand the back side of the CF diffuser to make sure the tape/betalink has a good bond. Follow the bmw instructions for this..
After sanding down the backside of the CF diffuser proceed to add the VHB tape in these areas that will come in contact with the frame you just installed as well as the lower bumper area.

Now peel off the tape backing and install to your bumper. There are a few screws from the bottom which holds up the diffuser. After installing use some painters tape to hold it in place for a few hours.
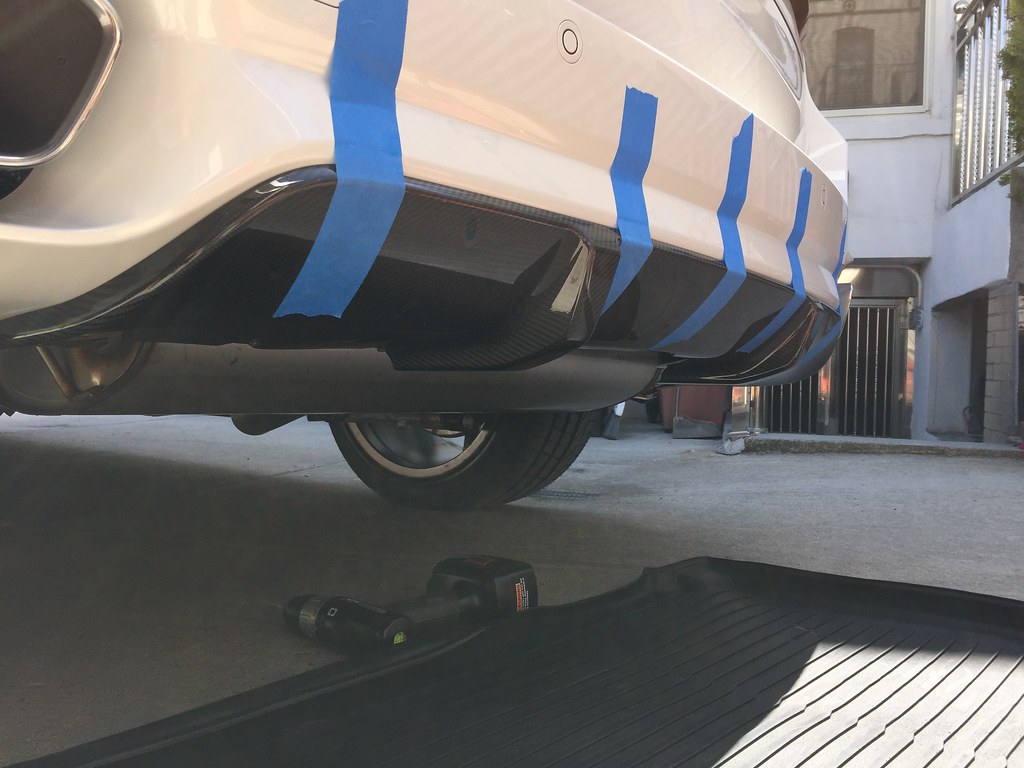
Now its time to move on to the rear side wings. Make sure your order contains a pre cut template so you know where to drill the holes. With this template its pretty much idiot proof imo. You remove one of your lower bumper screw so you can install the template then you can mark all of the holes you will need to drill. This template is key since you can precisely pinpoint where to drill and don't have to worry about it being straight or not in the right spot.
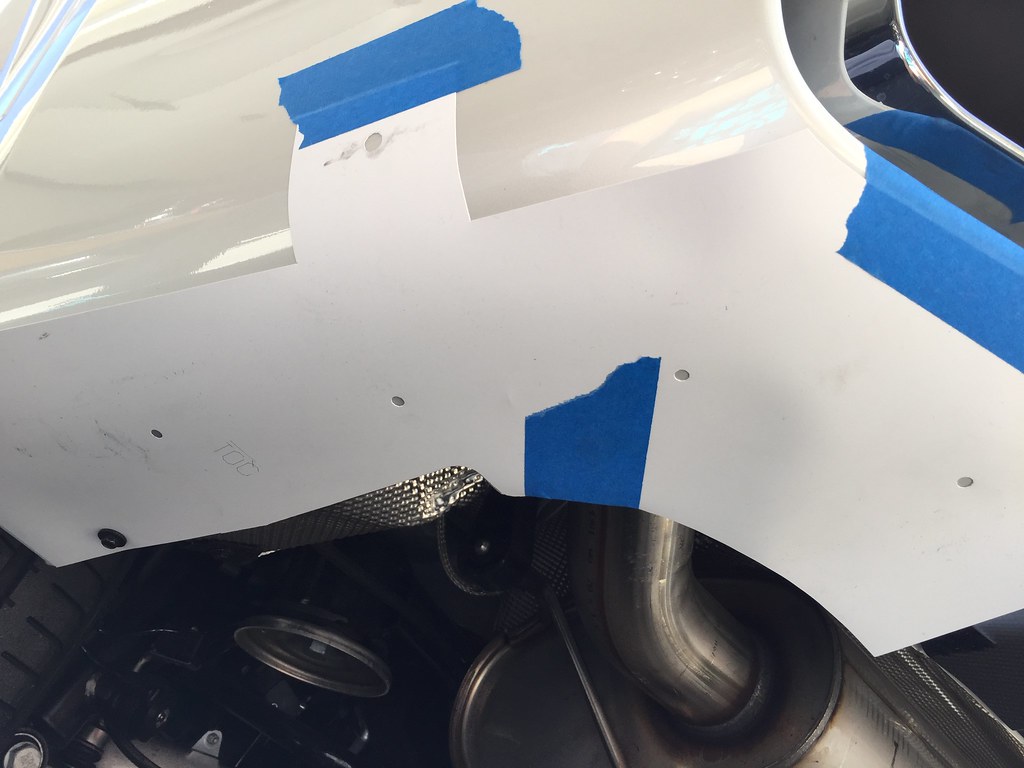
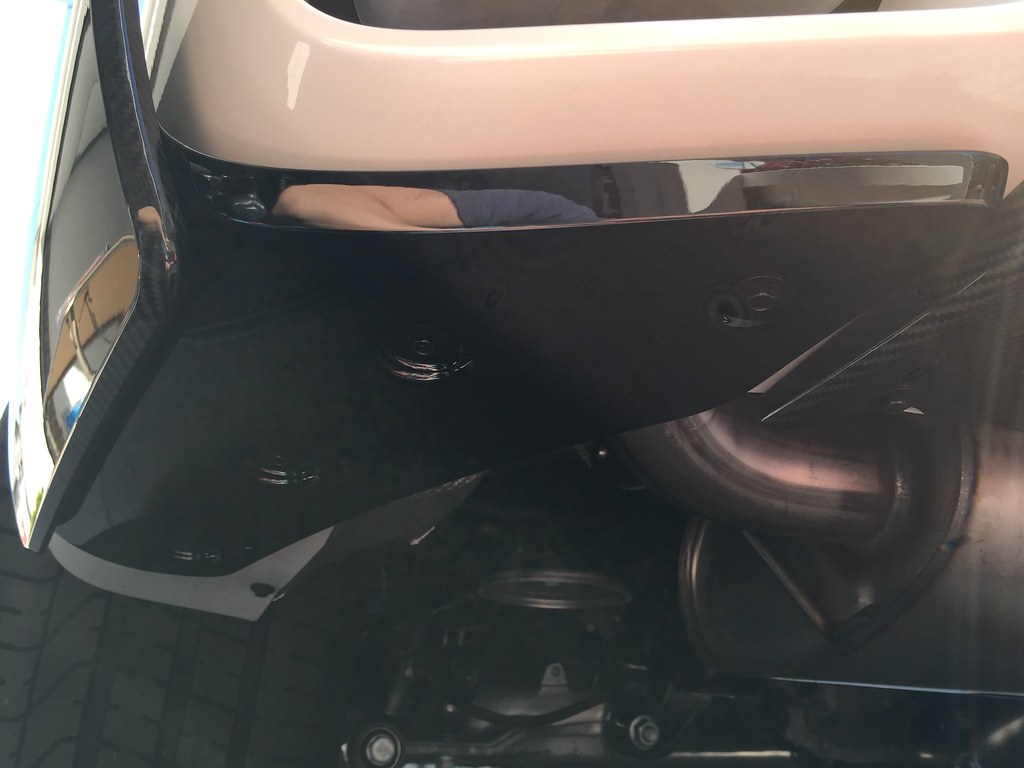
Once the holes are drilled...

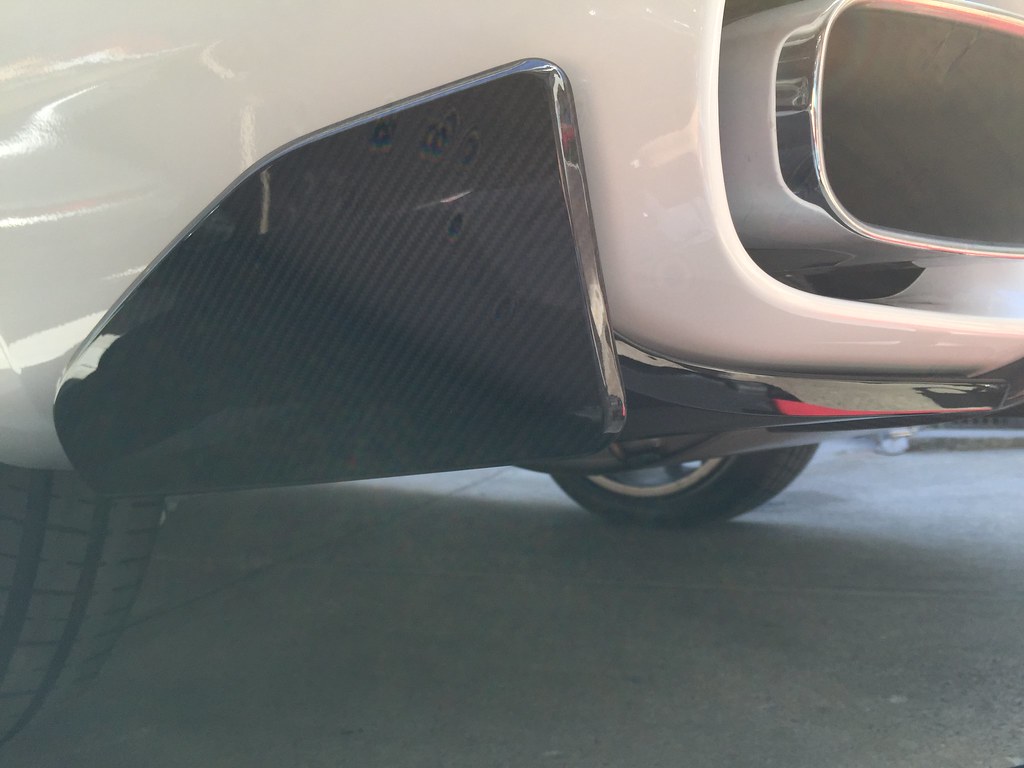
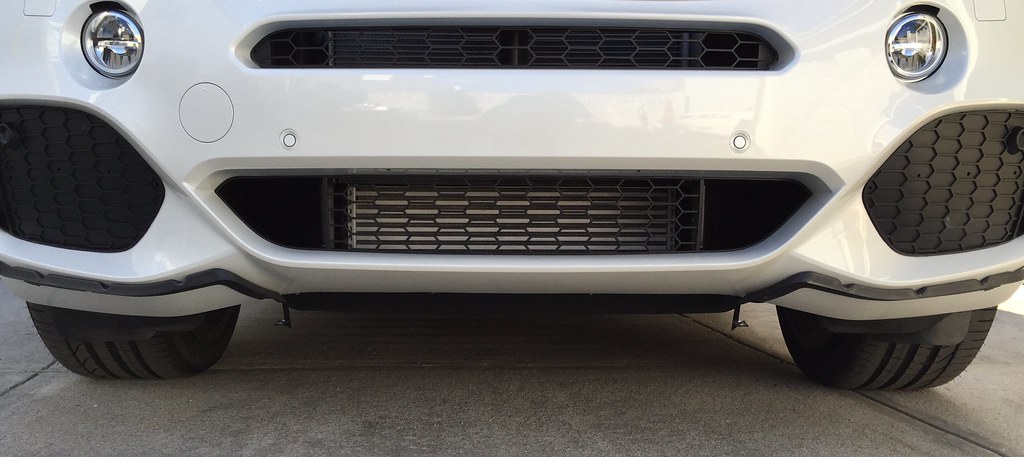
Here it is mounted.
 Front Carbon Spoiler Installation
The front spoiler is actually easier to install. Again follow the instruction guide and the concept is the same as the rear. You mount each bracket to the bumper with VHB tape/screws and then you attach the spoiler to the bracket using VHB tape plus bolts on the bottom.
Start off sanding both of the brackets so the tape will bond to the pieces stronger. After sanding apply some VHB tape to the areas where the bracket will come in contact with the bumper. Again, dont double upon the tape because it will raise the bracket away from the bumper and cause a gap between the spoiler and bumper.
Remove 4 of the bolts under the bumper, remove the backing for the VHB tape and attach the bracket to the bumper using the holes for the screws on the bottom as guides. Again this is pretty much dummy proof and very helpful to get the positioning perfect.
Once its attached you will need to drill the self taping screws into the bumper...
At this point you can snap off the mounting guides since they are no longer needed. Same as the rear they were designed to be snapped off simply by bending them. There is a slot where they will break off cleanly. Here they are broken off..

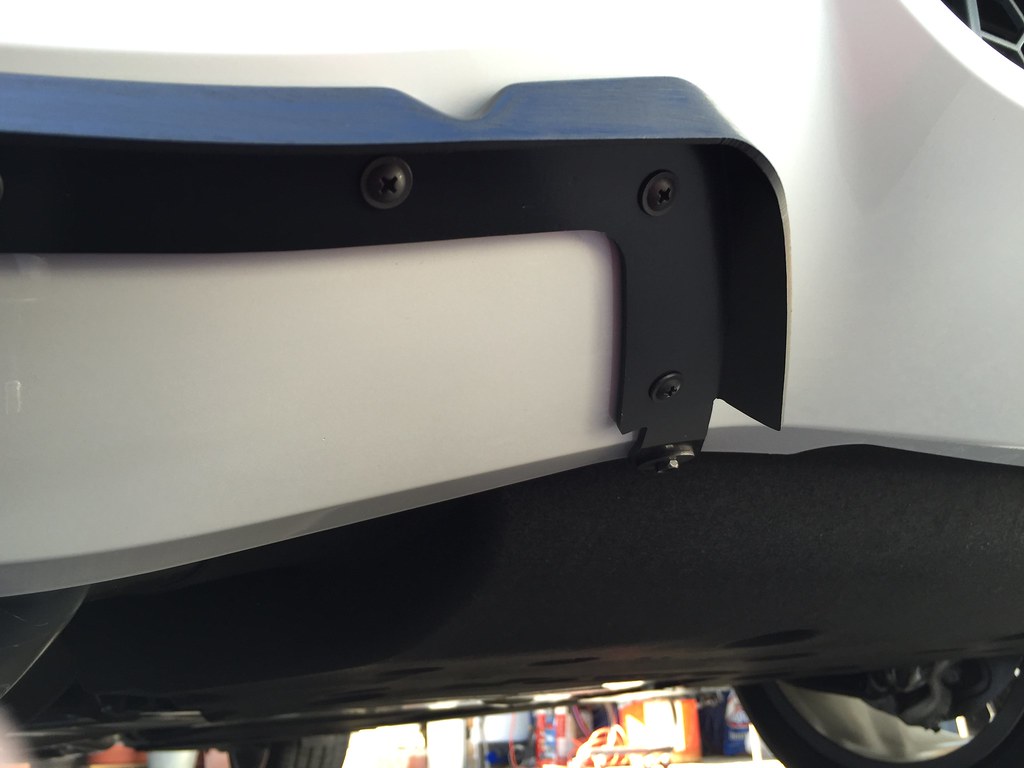
Now its time to install the L brackets that came with the spoiler. The manual doesn't show you how to really position these but here it is installed.
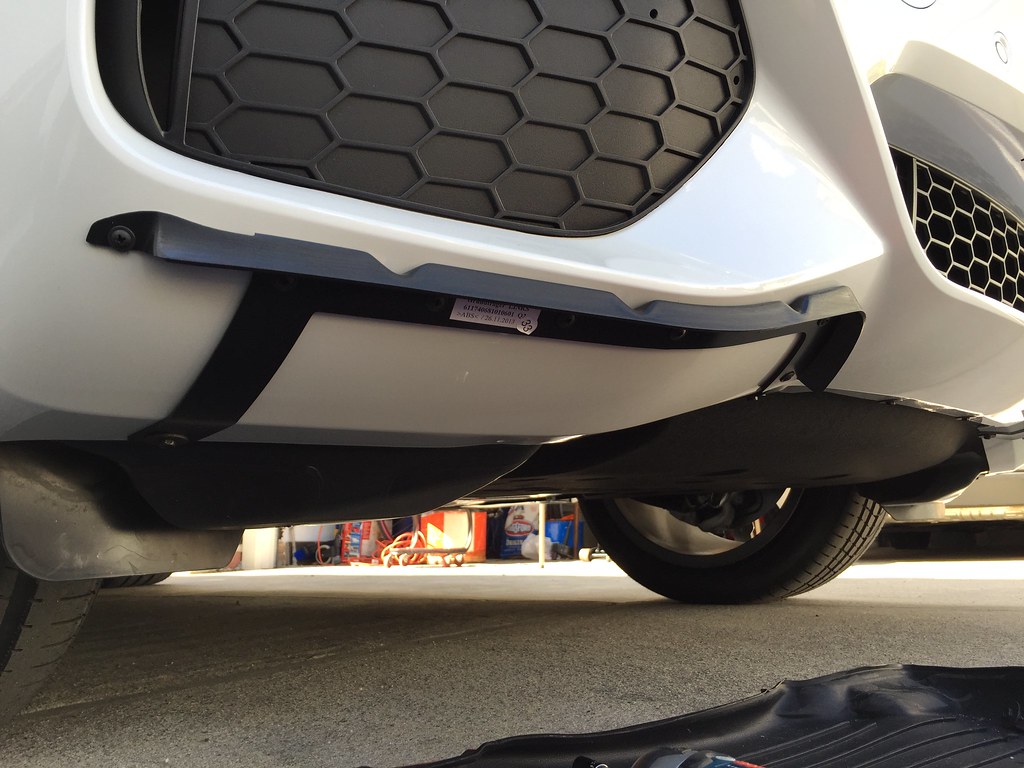
This is how it should look
At this point all you need to do is sand the back side of the CF spoiler and apply the VHB tape to the areas where it will come in contact with the bracket and bumper. Sorry I forgot to take pictures of the final steps but its pretty self explanatory. Sand, apply tape, install
The bolts you removed earlier under the bumper will screw back on holding the spoiler from underneath as well. It helps to have another set of hands to help you position the spoiler onto the bumper.
I've had it on my car for about a month now and everything is still holding perfect. If you choose to use betalink you can still use my guide and just substitute the VHB with betalink instead.
Hope this helps you guys.
Alan