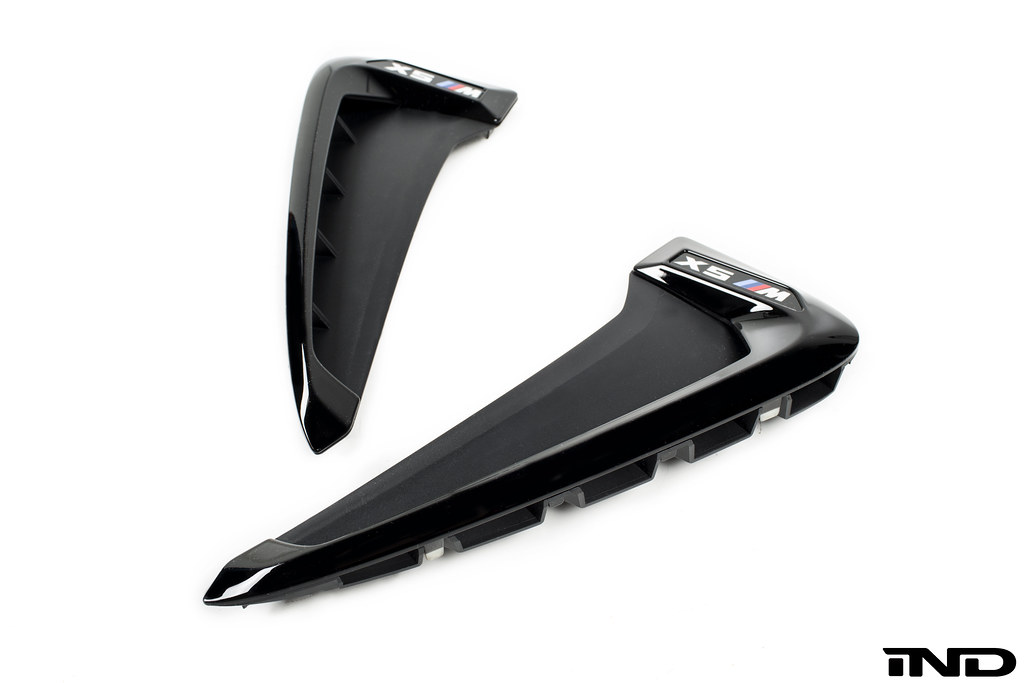
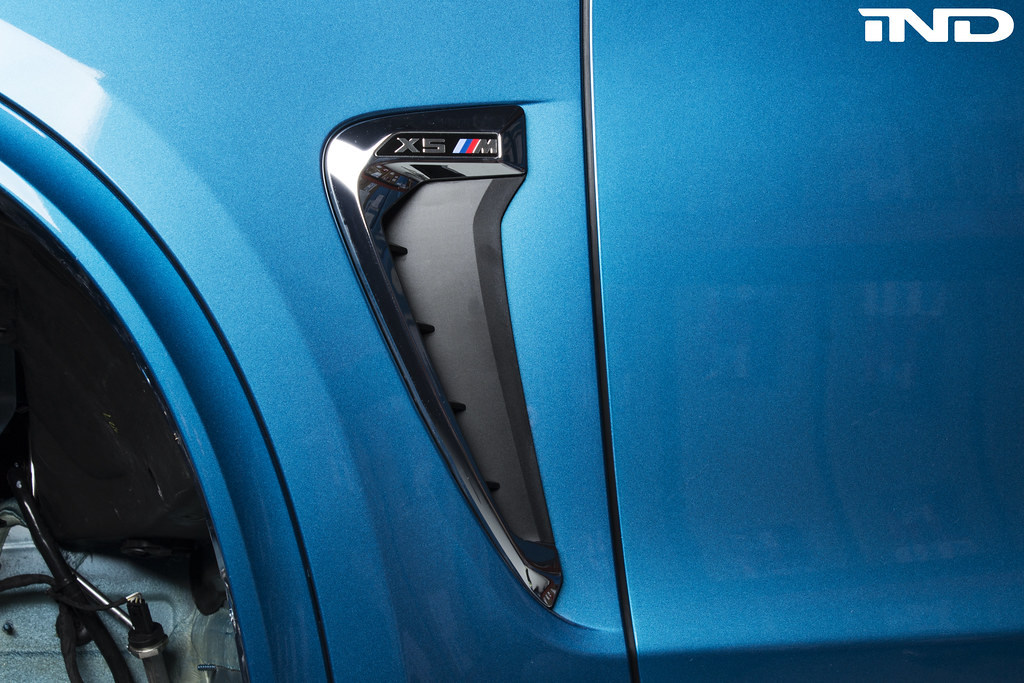
In continuation of supplanting the BMW chrome accents, one of the other areas require attention is the F85/F86 fender trim. As BMW changed the body lines from the E70/E71, they altered the shape of the fender trim from a single line to more of a boomerang shape. Unfortunately, for owners that want a more aggressive appearance, this piece is much larger than the previous generation.
We will be producing two DIYs for this piece with this being the first and least invasive installation. The F85/F86 X5M/X6M fender trim is secured via four plastic tabs. From the factory these plastic tabs are melted from behind the fender. Removing these pieces is easy as they do not require significant force, but installation presents us with two options.
Tools required:- Painters Tape
- Bondo spreader
- Double-sided tape
Available for purchase on our website or through an IND representative
http://ind-distribution.com/ind/cate...ide-grille-set
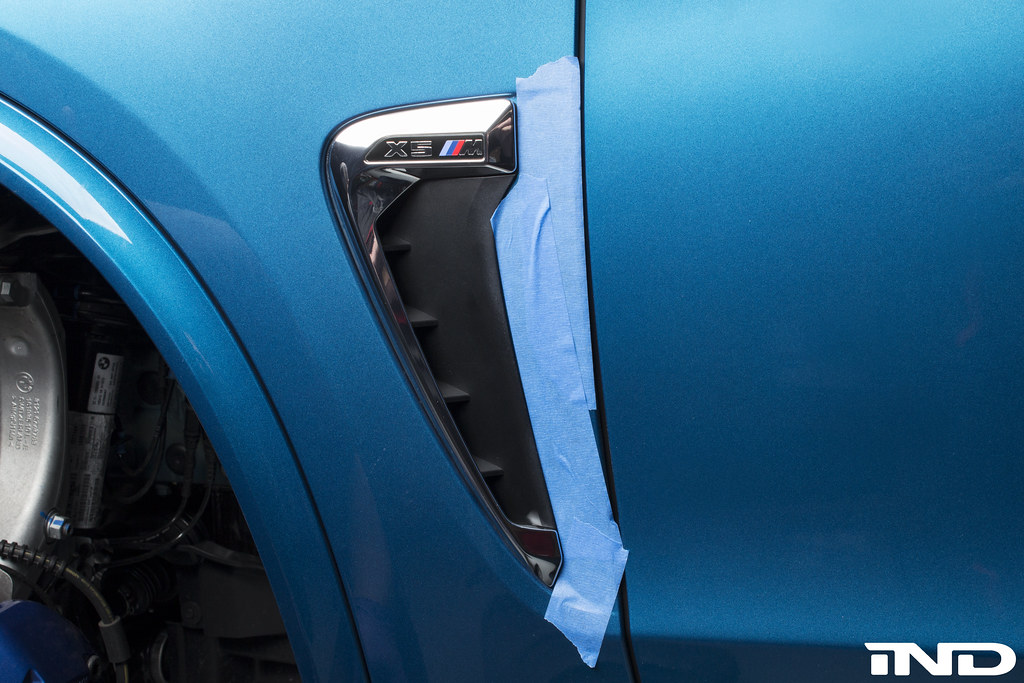
Step 1:
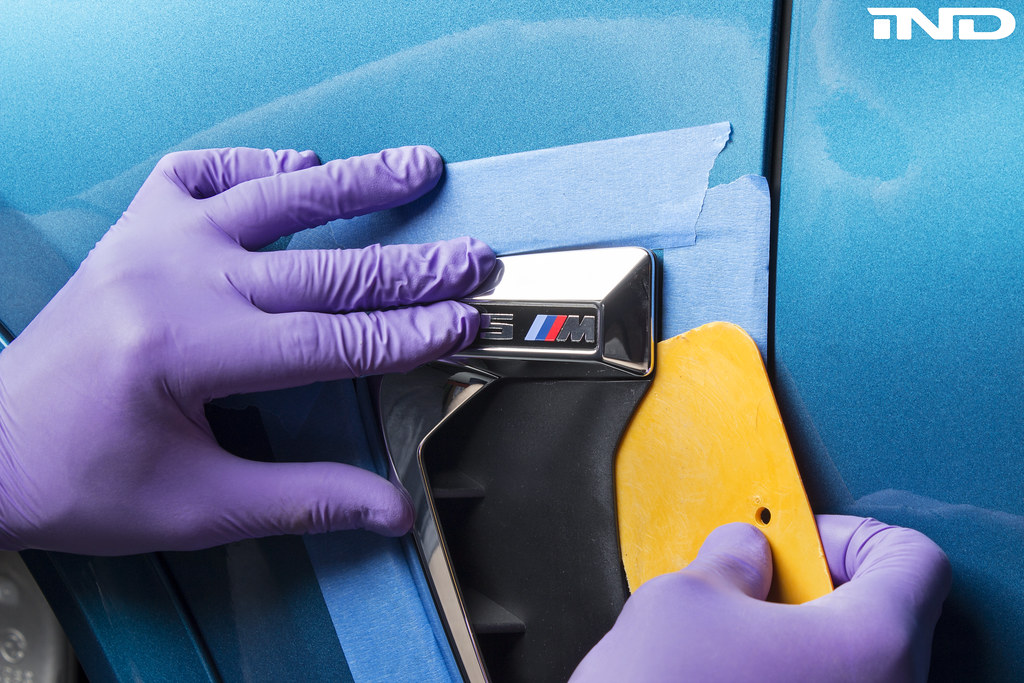
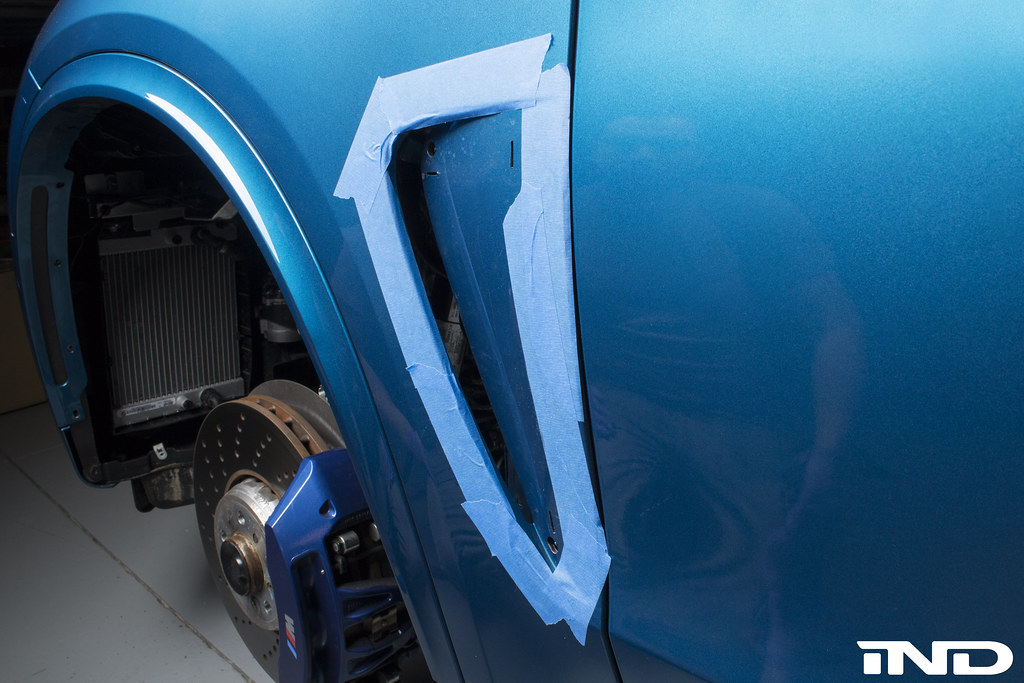
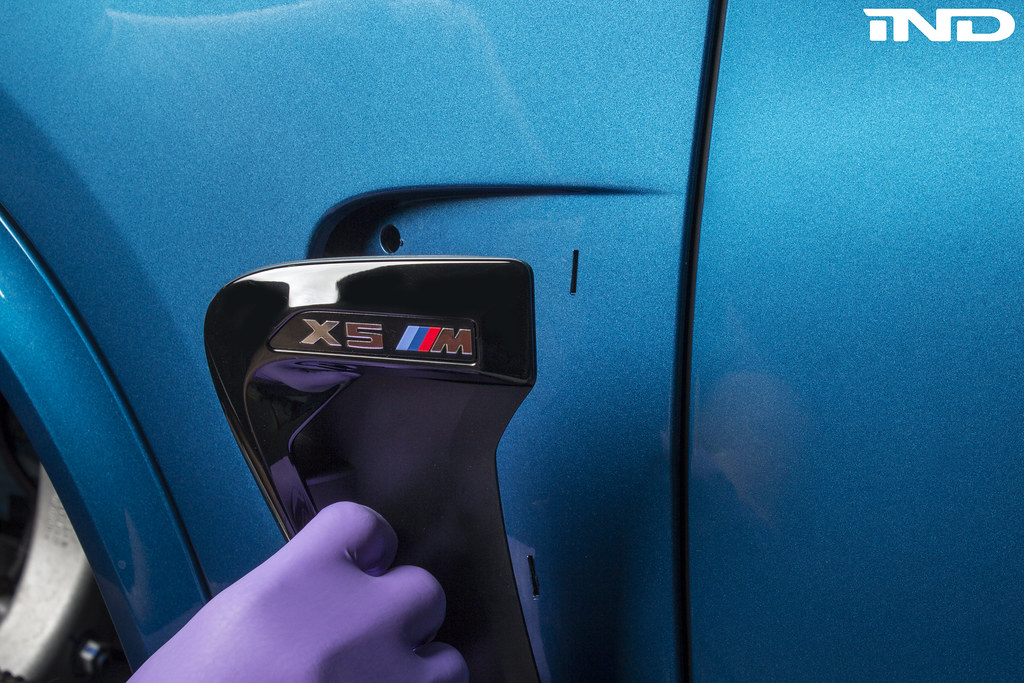
The first step in this process is to protect your vehicles beautiful finish. Outline the fender trim with painters tape. Take extra care to make sure you apply tape in the front crevice of the fender trim.
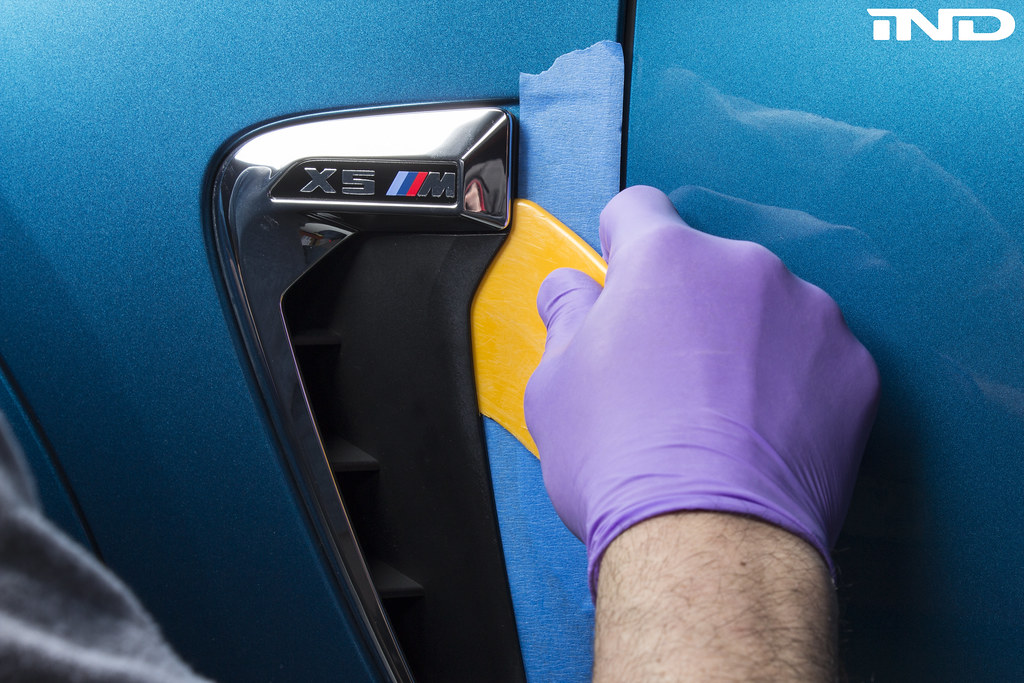
Step 2:
With the fender trim lined with painters tape, use a flexible bondo spreader or other plastic trim tool to begin the process of loosening the trim. As you can see in the below images, our technician does this from the inside edge and works from the top to the bottom.
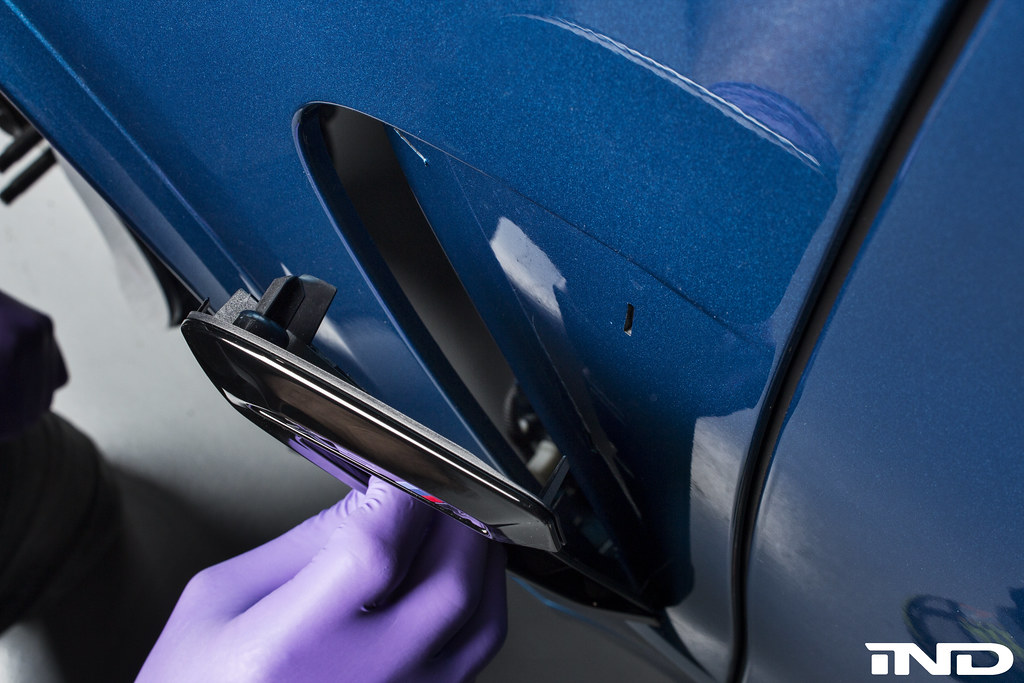
Step 3:
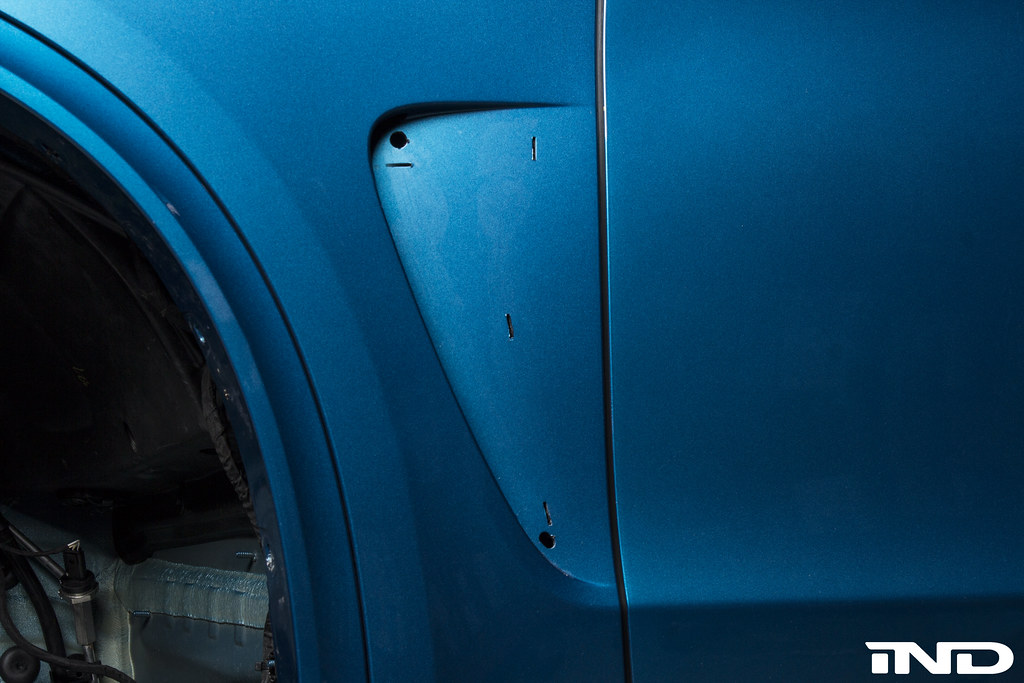
After using the prytool to loosen the fender trim, you can use your hands to apply more leverage and pull the fender trim out of the vehicle.
Step 4:
Remove the painters tape and clean the area with a little quick detailer.
Step 5:
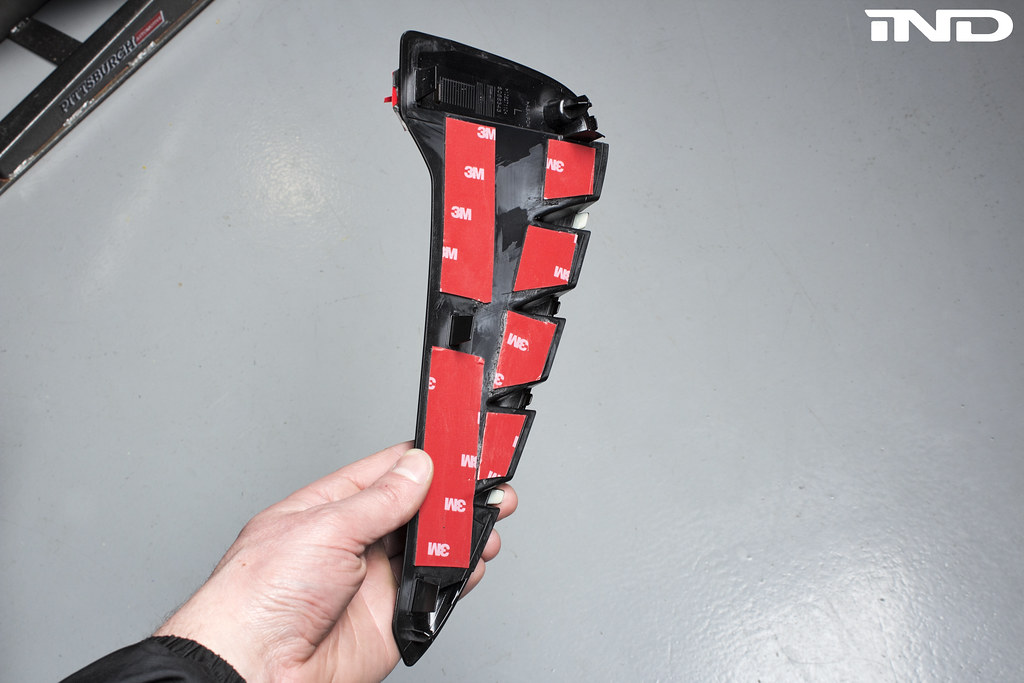
This is where our DIY takes the least invasive route. We will offer the option of pre-installing double-sided tape, but for the purpose of this DIY lets make step 5 about the application of the tape on the fender trim.
As you notice from the below image, we applied 6 pieces of double-sided tape. If you elect to do this on your own, then we recommend using this pattern.
Step 6:
Remove the backing from the 3M tape on the fender trim
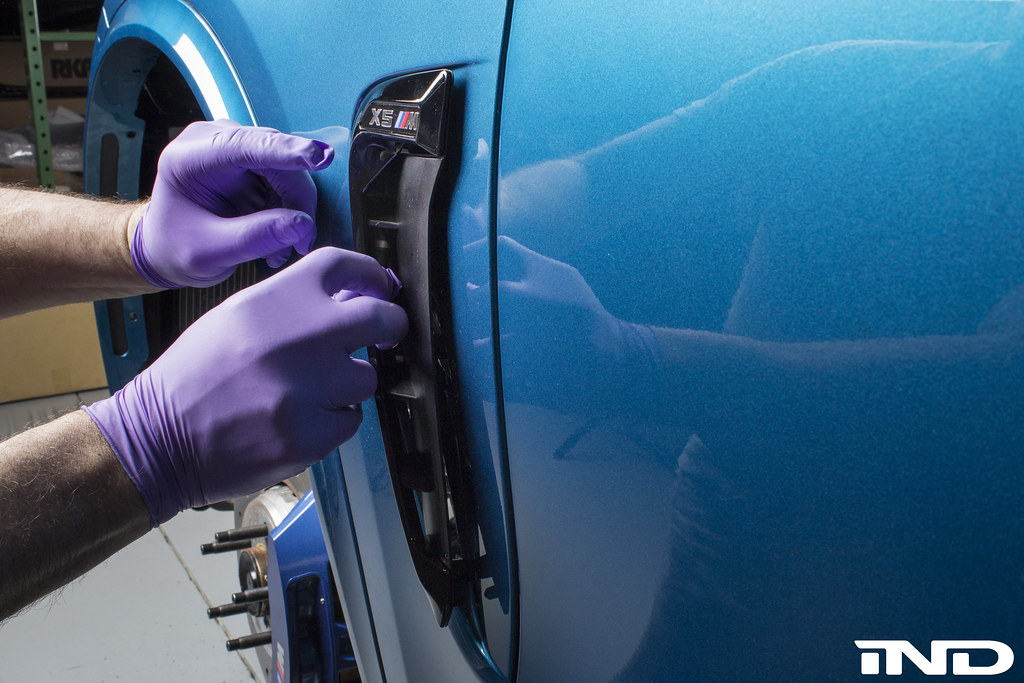
Step 7:
Using the guide holes on the body and plastic tabs on the fender trim, insert the fender trim into the fender. Apply pressure along the areas where there is double-sided tape.
Step 8:
Admire your work.
The second option for DIY will be more detailed and show individuals how to properly melt the tabs on the inside of the fender. This is for a 100% factory correct installation. It is worth noting that the double-sided tape installation has held strong for over a week and we expect this to last. For those interested in the factory installation, stay tuned.